
NEWS
Homegrown: Interview with Courtney Zimmerman
Meet Courtney Zimmerman! She is a local ceramics artist who specializes in colorful mugs & house plant pots! I absolutely love her and her work!! I’m so excited to be featuring her house plant pots at the garden center this spring!!

What made you get into ceramics?
In the beginning of my sophomore year of college (2012), I had the job as a gallery watcher just to make a little bit of money while I was gong to school for Art Therapy at Millikin University. At the time, ceramics professor Jim Schietinger oversaw changing out the gallery exhibits and while I was in there one day, he was putting up the next show. I offered to help set up. After that he told me I had a very good work ethic and offered me the studio assistant job in the ceramics building. So because I got the job, I was able to learn how to make the studio clay, glazes, learn to fire the kilns and all the ins and outs of clay before ever taking a ceramics class. From then on I fell in love with clay.

What do you love about it?
I love how versatile yet complex of a material it is. You can make anything from a pinch pot to a human sized sculpture and beyond. But, without the right amount of knowledge and practice, your piece can crack, blow up in a kiln, over fire, etc. Clay teaches patience and teaches you to be okay with trying again. Clay pushes me to continually grow and I love it for that.

As for my work, it has changed a lot over the years. For a while I felt that I had to make work that spoke to the masses rather than to a specific customer. I felt I had to use neutrals/browns. Not to hate on a brown mug, some potters make amazing mugs that are brown, but it's not really my thing. I finally realized that in order to really love what I was doing, I needed to make work that I would want to buy. So I said goodbye to brown and hello to rainbows.

My goal with every piece I make is to be technically well made and to bring joy to your every day routine. I want my customer to take my mug off their shelf in the morning and have their coffee taste better because they drank it out of my mug or feel like their plants are happier because they have a beautiful home in one of my pots. This may sound materialistic, but I truly believe that your environment has a huge part to do with your daily happiness. And especially in this last year when we’ve all been stuck at home. Our homes have been our main base; our safe haven. Let's make our surroundings beautiful all the way down to the mugs we drink out of and the pots we put our plants in.

What’s inspiring you right now?
Currently, I am super inspired by the arrival of spring and summer. Lots and lots of color, anything that sparkles, all of the flowers, aerial landscapes, fashion, patterns, rainbows. These are all things that bring me happiness.

I can’t wait to show you her incredible work! Her planters will be available on April 12 at our Spring Opening Day!
Have a great day!!
Homegrown: End of Season Vegetable Garden Care
“Gardening is the work of a lifetime, you may never finish.” Oscar de la Renta

Fall is in full swing and it’s time to put our veggie gardens to bed for the season. Don’t think of this as the end of this year’s garden, but the start of next year’s!
Whether you have raised beds or an in-ground garden, there are a few things you need to do now in order for next year’s garden to thrive:
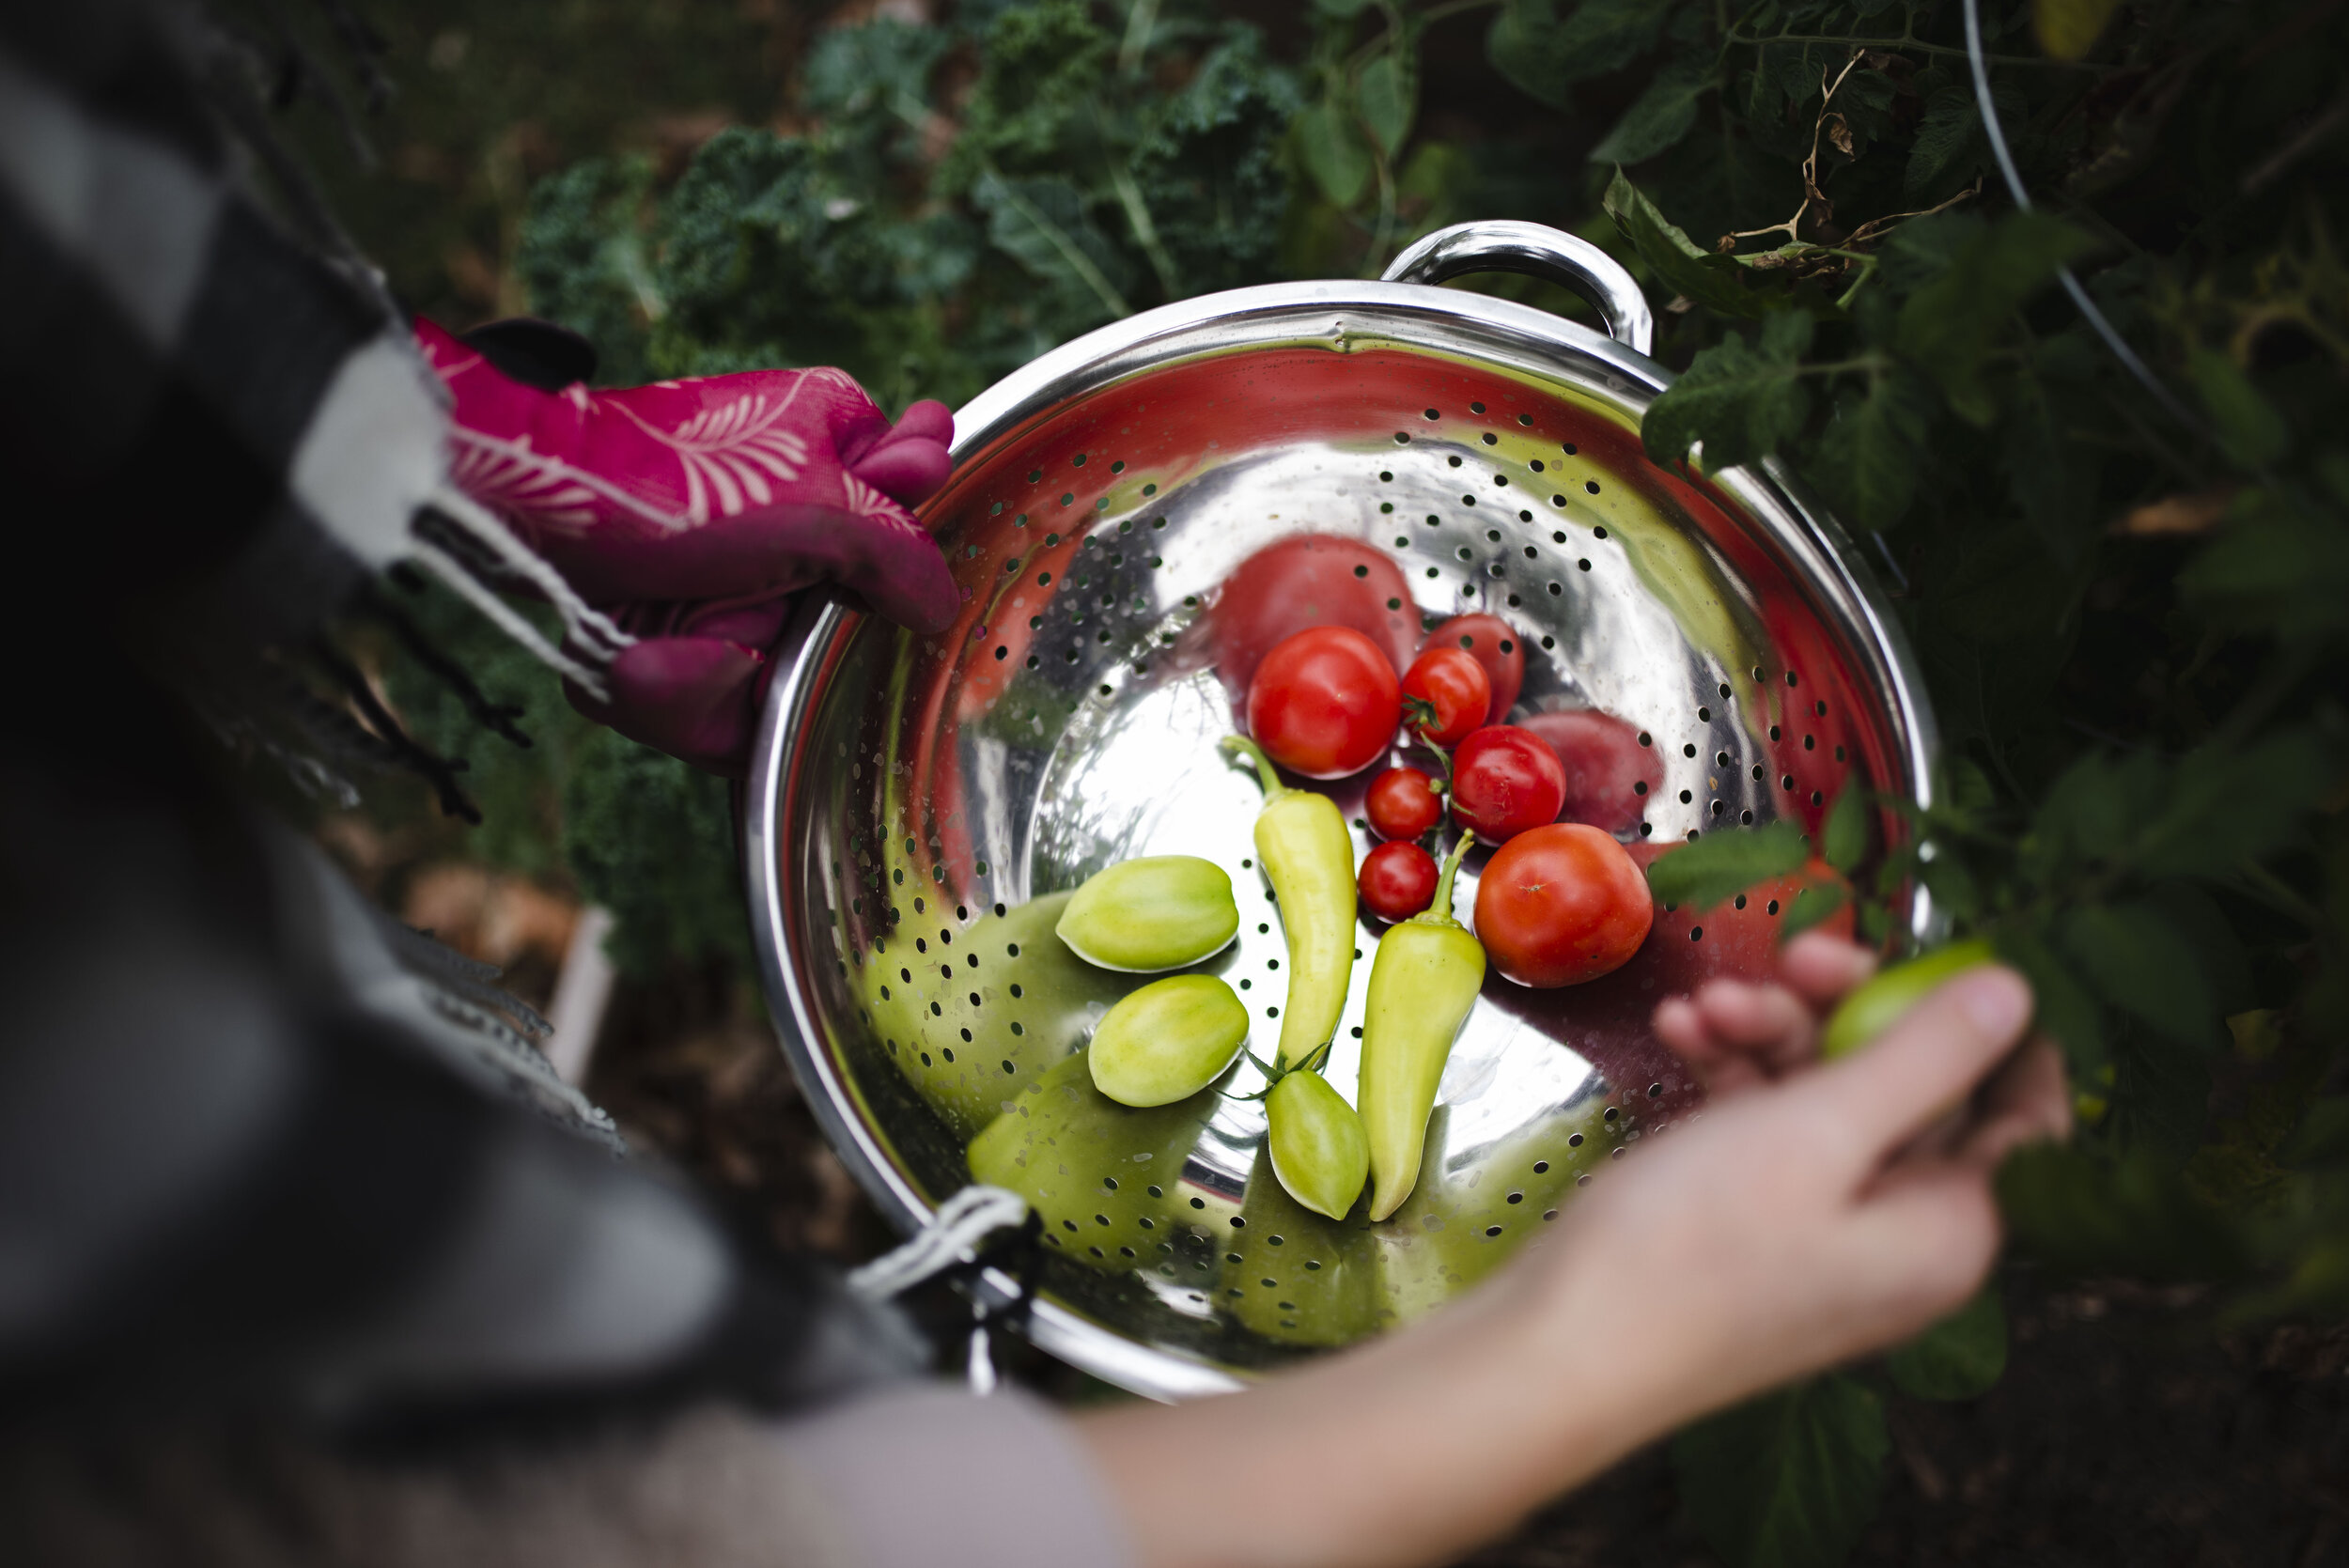
1. Finish your harvest. Many people have given up on their summer garden and will be pleasantly surprised by some late bloomer veggies. Pick any unripe tomatoes and bring inside to finish ripening on the kitchen counter. Pick any other remaining veggies and have one last summer vegetable feast.

2. Remove your finished veggie/annual herb plants. Dead, rotting plants are the perfect host for pests and plant diseases. Removing your plants is a key step to preventing these issues next year. Pull up your annual vegetable/herb plants by the root and add to your compost pile or yard waste bin. Be sure not to compost and moldy or diseased plants.

3. Weed! Once your veggie plants are out, dig up any weeds that have invaded your garden area. You can pull these out with your hands or a garden hoe.

4. Prep your soil for Spring! Replenish nutrients to ensure your soil in prime condition for spring planting. This year’s plants soaked up all of those precious nutrients, so they have to be added back. Doing this step now will save you time and effort in the spring. Add a thick layer of compost (from home compost or store bought bags) to the top of your garden and turn over with a shovel to mix it in with your current soil.
5. Add mulch. Adding a thick layer of mulch to the top of your garden helps prevent weed growth and also protects against nutrient runoff from rain and snow.
6. Clean and store your garden tools. Put away your trellises, tomato cages, and other supplies for use next year. Rinse off dirt from shovels and other tools. Sharpen any blades that need it.
7. Take notes! Jot down your favorite plants and varieties of the season, as well as what didn’t do so well. What do you want to change or add for next year? Do this while it’s fresh in your memory. Next year I’ll be planting more leaf lettuces, and probably will only do one banana pepper plant. Now is also the perfect time to plan any additions to your garden space. Our tomatoes outgrew their cages very quickly this year, so the hubs and I are going to get creative with a trellis system for them next year.

This may seem like a lot of extra work, but it can easily be done in an hour or so and will have you ahead of schedule next year. Once your cold weather garden prep is done, enjoy your much deserved break from weeding and watering! Cozy up inside and daydream about next year’s garden.

With the end of our summer gardens comes the end of our Homegrown Blog serie. I’ll be back early next year to help you plan and prepare for Spring. Thank you so much for following along and allowing me to share my homegrown recipes with you! Have a great Fall!
-Megan
Homegrown: Squash
“A recipe has no soul. You, as the cook, must bring soul to the recipe.” Thomas Keller

Squash are the unsung heroes of the season. They are a hug in food form, the ultimate fall comfort in every bite. Squash can be intimidating to prepare and cook, thus they’ve become a popular fall porch decoration. Decoration is an okay use, but they were made to be eaten and enjoyed! How many times have you glanced over spaghetti squash or other varieties, afraid to make direct eye contact, with zero clue how to use them? Those days are a thing of the past. Grab a few squash and let’s start cooking!

Benoit Greenhouses has an incredible display of seasonal squash. Most of their squash are varieties you can’t find at any grocery store, so stock up! One of the best things about squash is the long shelf life. Acorn and delicata squash can last about 4 weeks. Spaghetti squash can last up to 6 weeks, and butternut squash lasts for months if properly stored! If you’re not using your squash right away, store in a cool, dark place. Garages or basements are perfect.
Recipes
Spaghetti Squash with Sage, Mushrooms, and Pancetta

So comforting and filling, you won’t even miss the pasta.
Blue Hubbard Squash and Apple Soup

Cutting the blue hubbard squash can be a little difficult, but I promise it’s worth the effort.
Acorn Squash Breakfast Bowls

Packed with flavor, this is the perfect way to start the day. It’s just as tasty for lunch or dinner!

Next week we’ll be talking about how to take out your summer vegetable garden and prep it for a perfect growing season next spring.
-Meg
Homegrown: Drying Herbs
“You must fail at gardening to master it.” Unknown
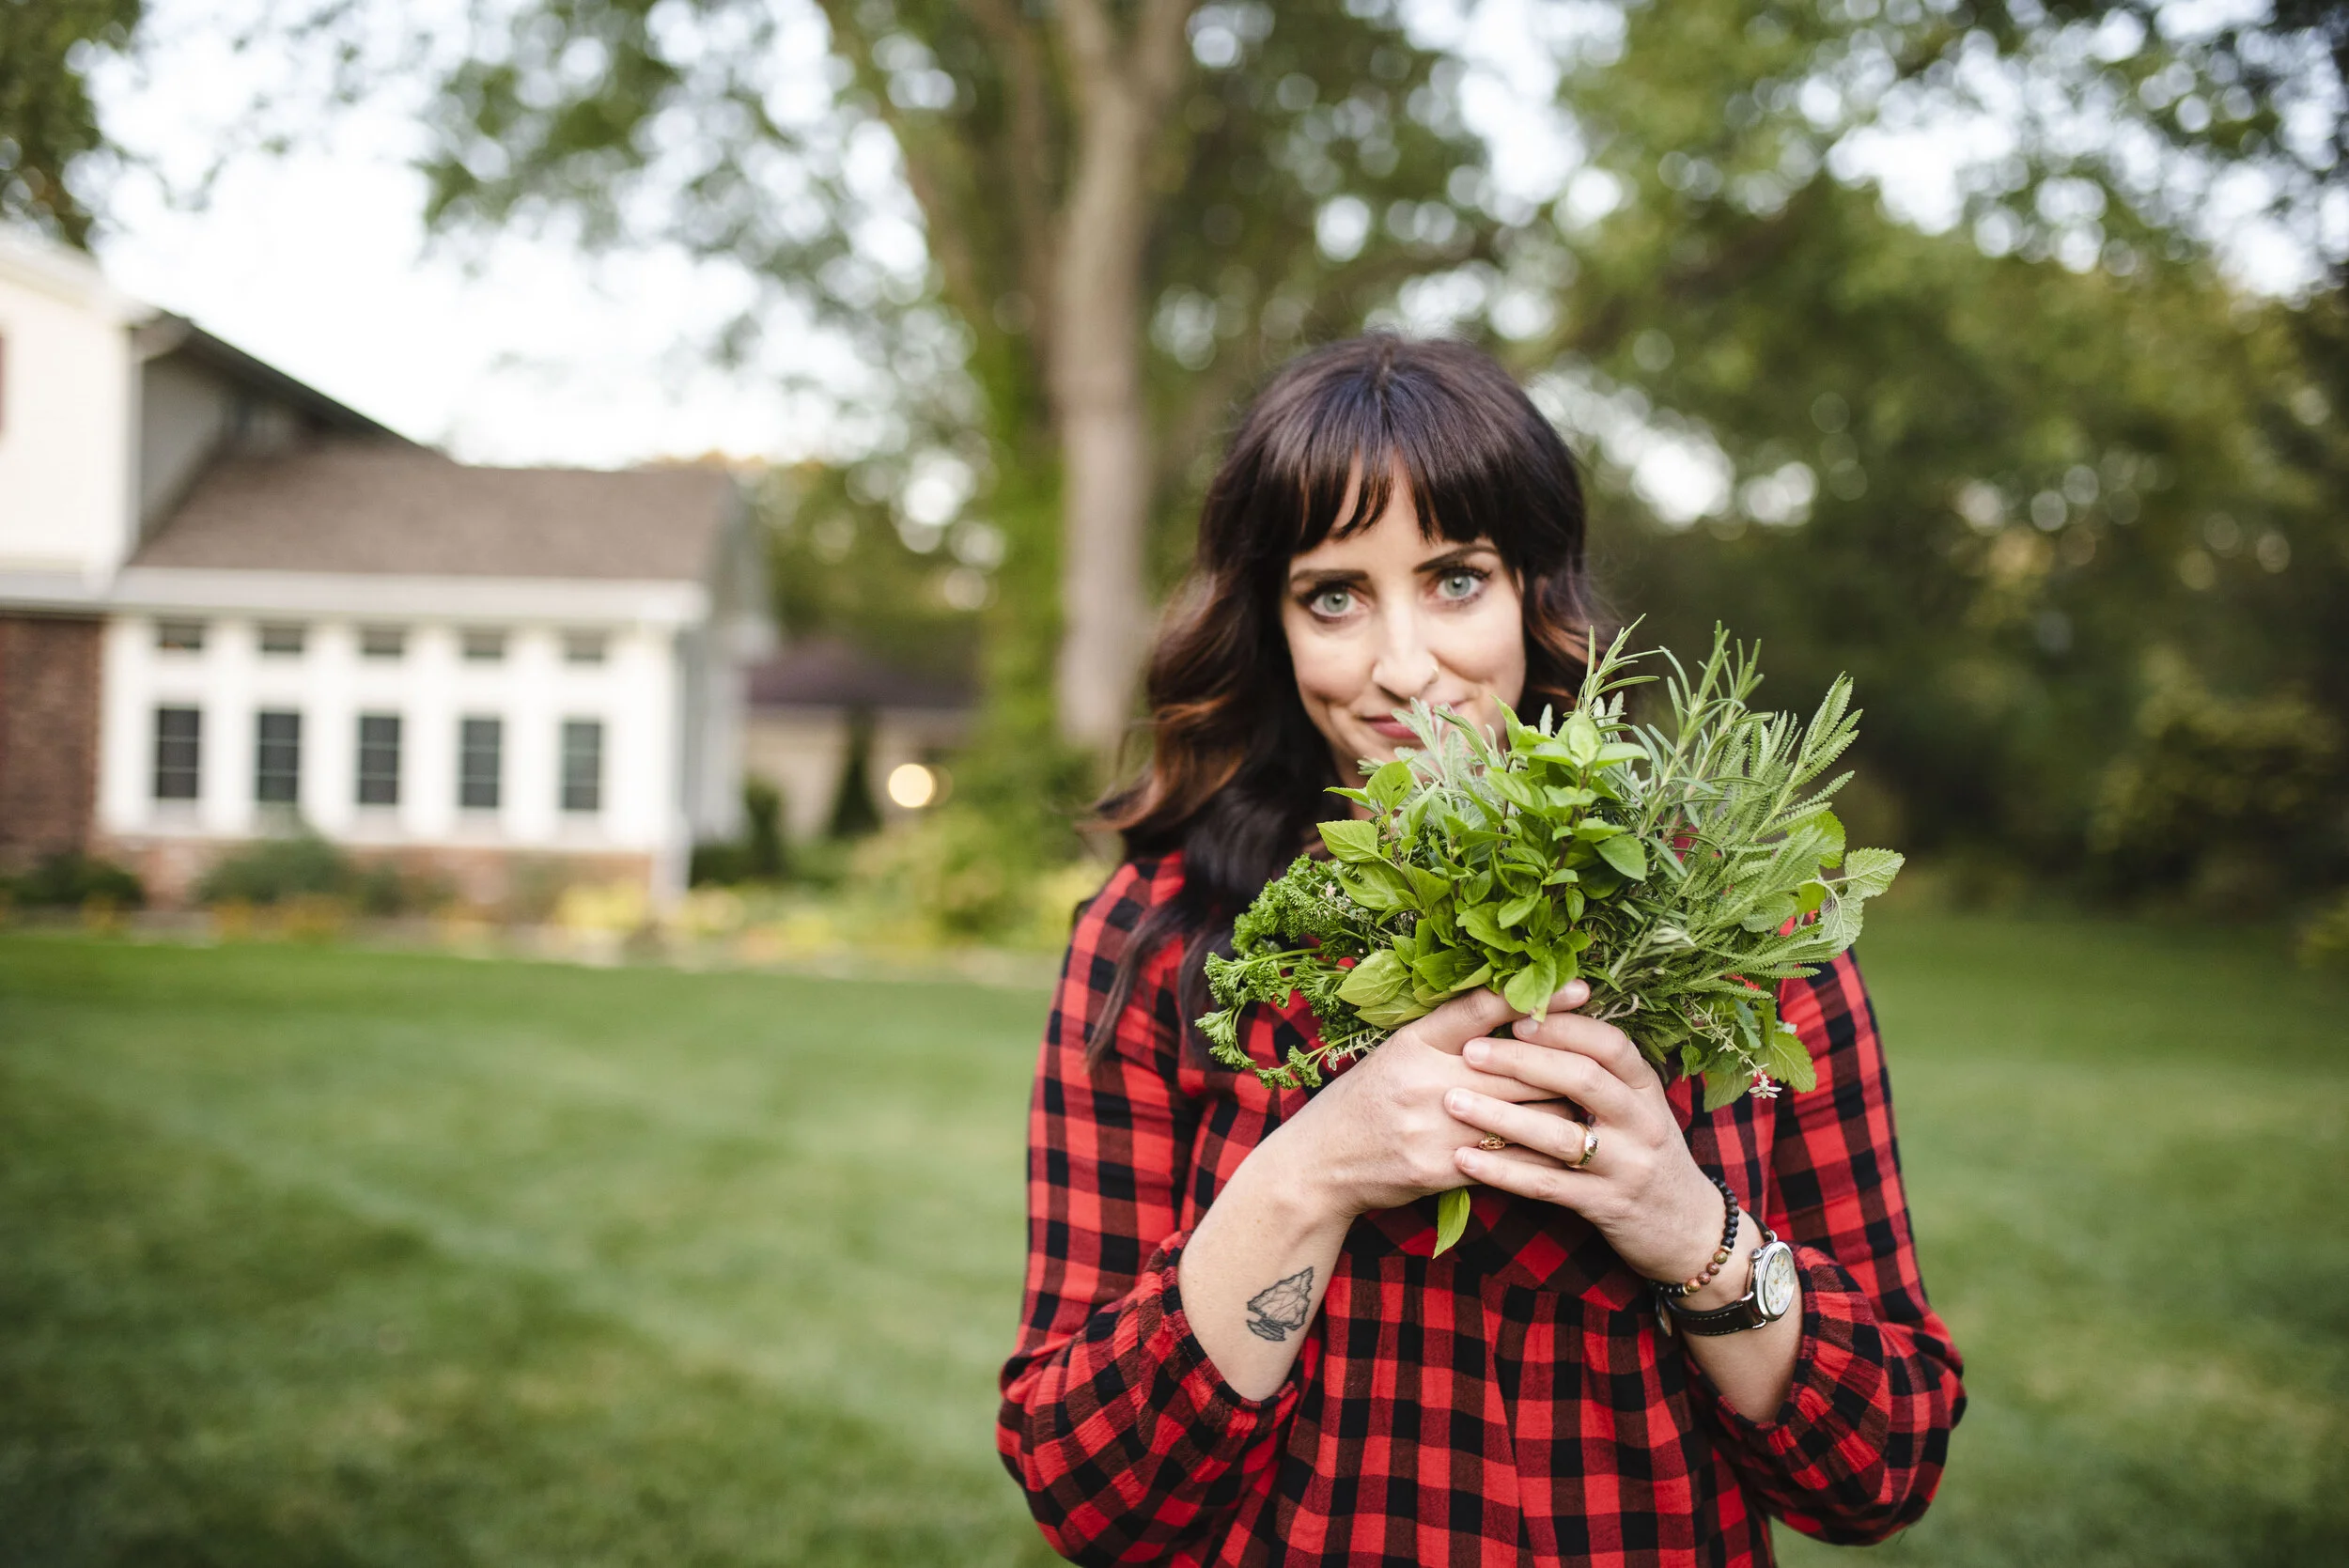
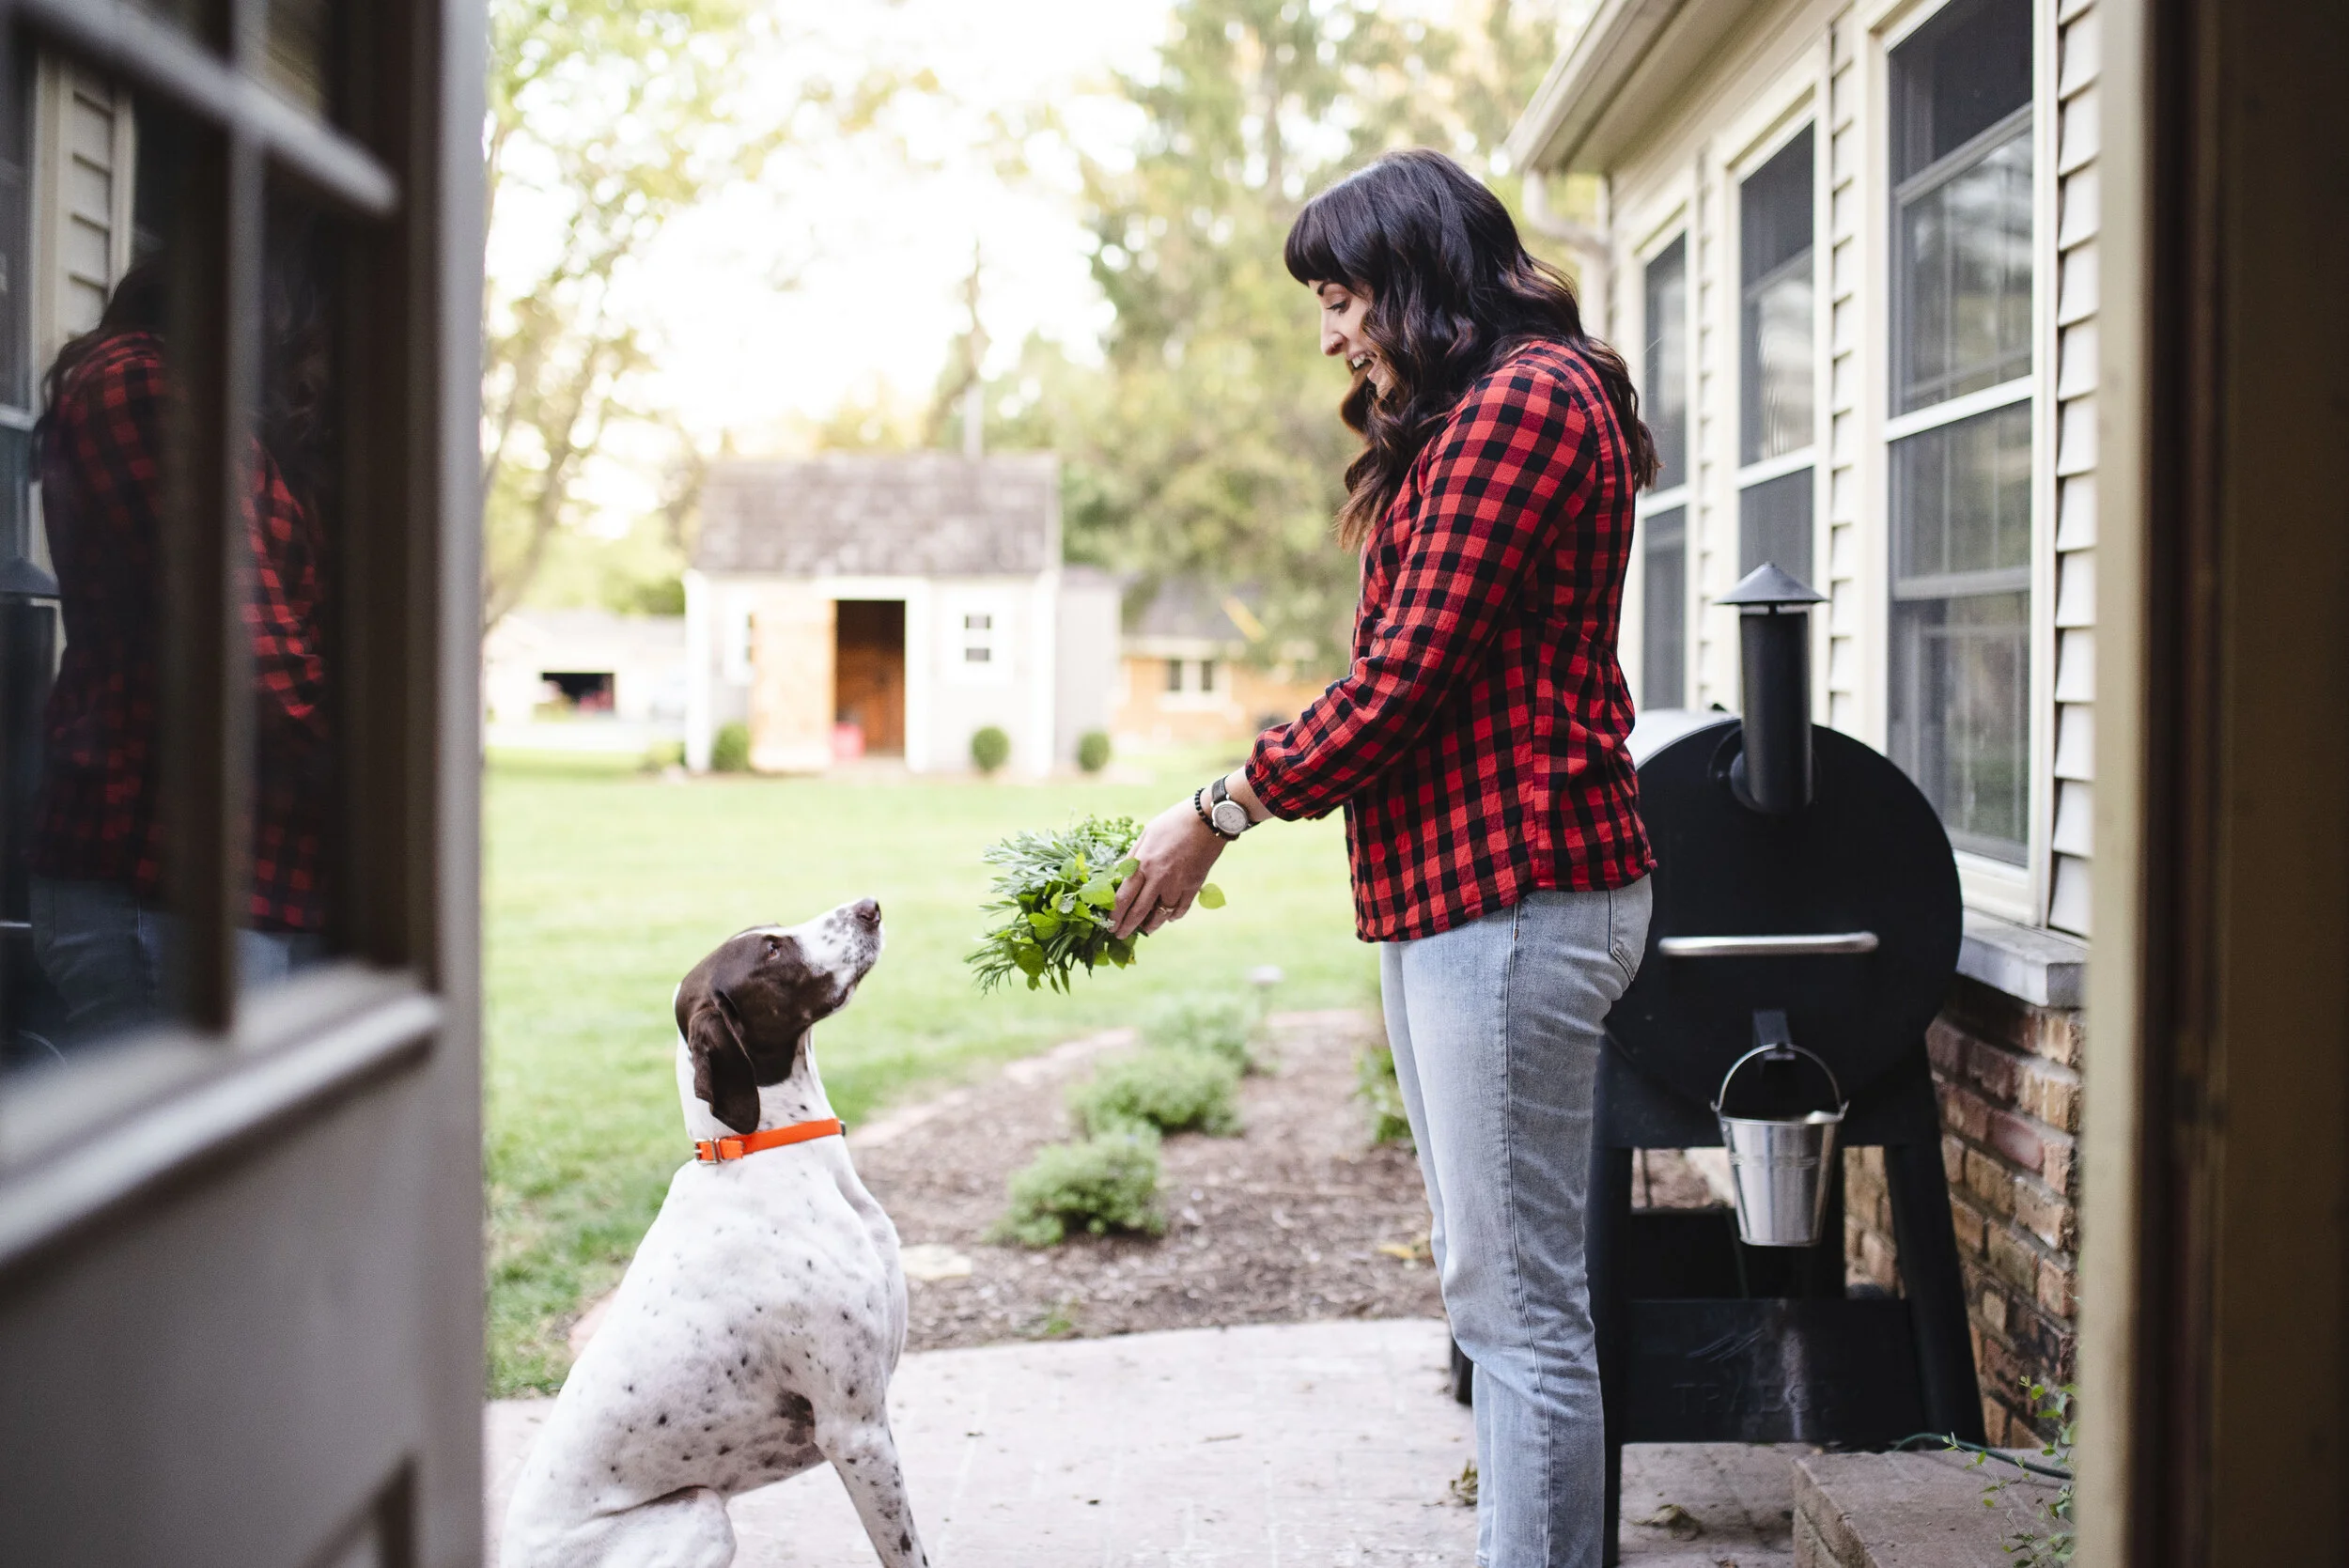
The leaves are falling and the days are getting shorter, which means it’s time to bid farewell to our summer herb gardens. That being said, we aren’t done using that hard-earned flavor quite yet. If you have space and bright light in your kitchen, you can certainly bring your herbs inside in pots, for fresh herbs all year round. Unfortunately my kitchen doesn’t have enough window space, so drying herbs is the way to go! It’s an enjoyable way to welcome the new season without having to waste the plants you tended to all summer. If you’ve kept your herbs alive this long, the hard part is over. Drying herbs is SO easy and nearly impossible to mess up. It’s also a great way to get your kids involved in the garden and kitchen. Let’s start with the basics.
Why should I dry my own herbs?
-It saves money by not buying store bought herbs.
-You get the most out of your plants.
-They are fresher and tastier than herbs from the store.
-They serve as natural home decor while drying.
-They have a long shelf life (they will have maximum flavor for up to one year).
-It’s fun!

How long does it take?
Your herbs will take 1-2 weeks to dry, depending on the size of your bundles and humidity of your home. They’re ready when they’re crunchy and crumble between your fingers.
When cooking, do I measure dried herbs the same as fresh herbs?
Dried herbs are more potent than fresh herbs. When cooking, 1 teaspoon of dried herbs is equivalent to 1 tablespoon of fresh herbs. Add your herbs early on in cooking so the flavor develops. Don’t just sprinkle on at the end.
How do I do it, anyways?
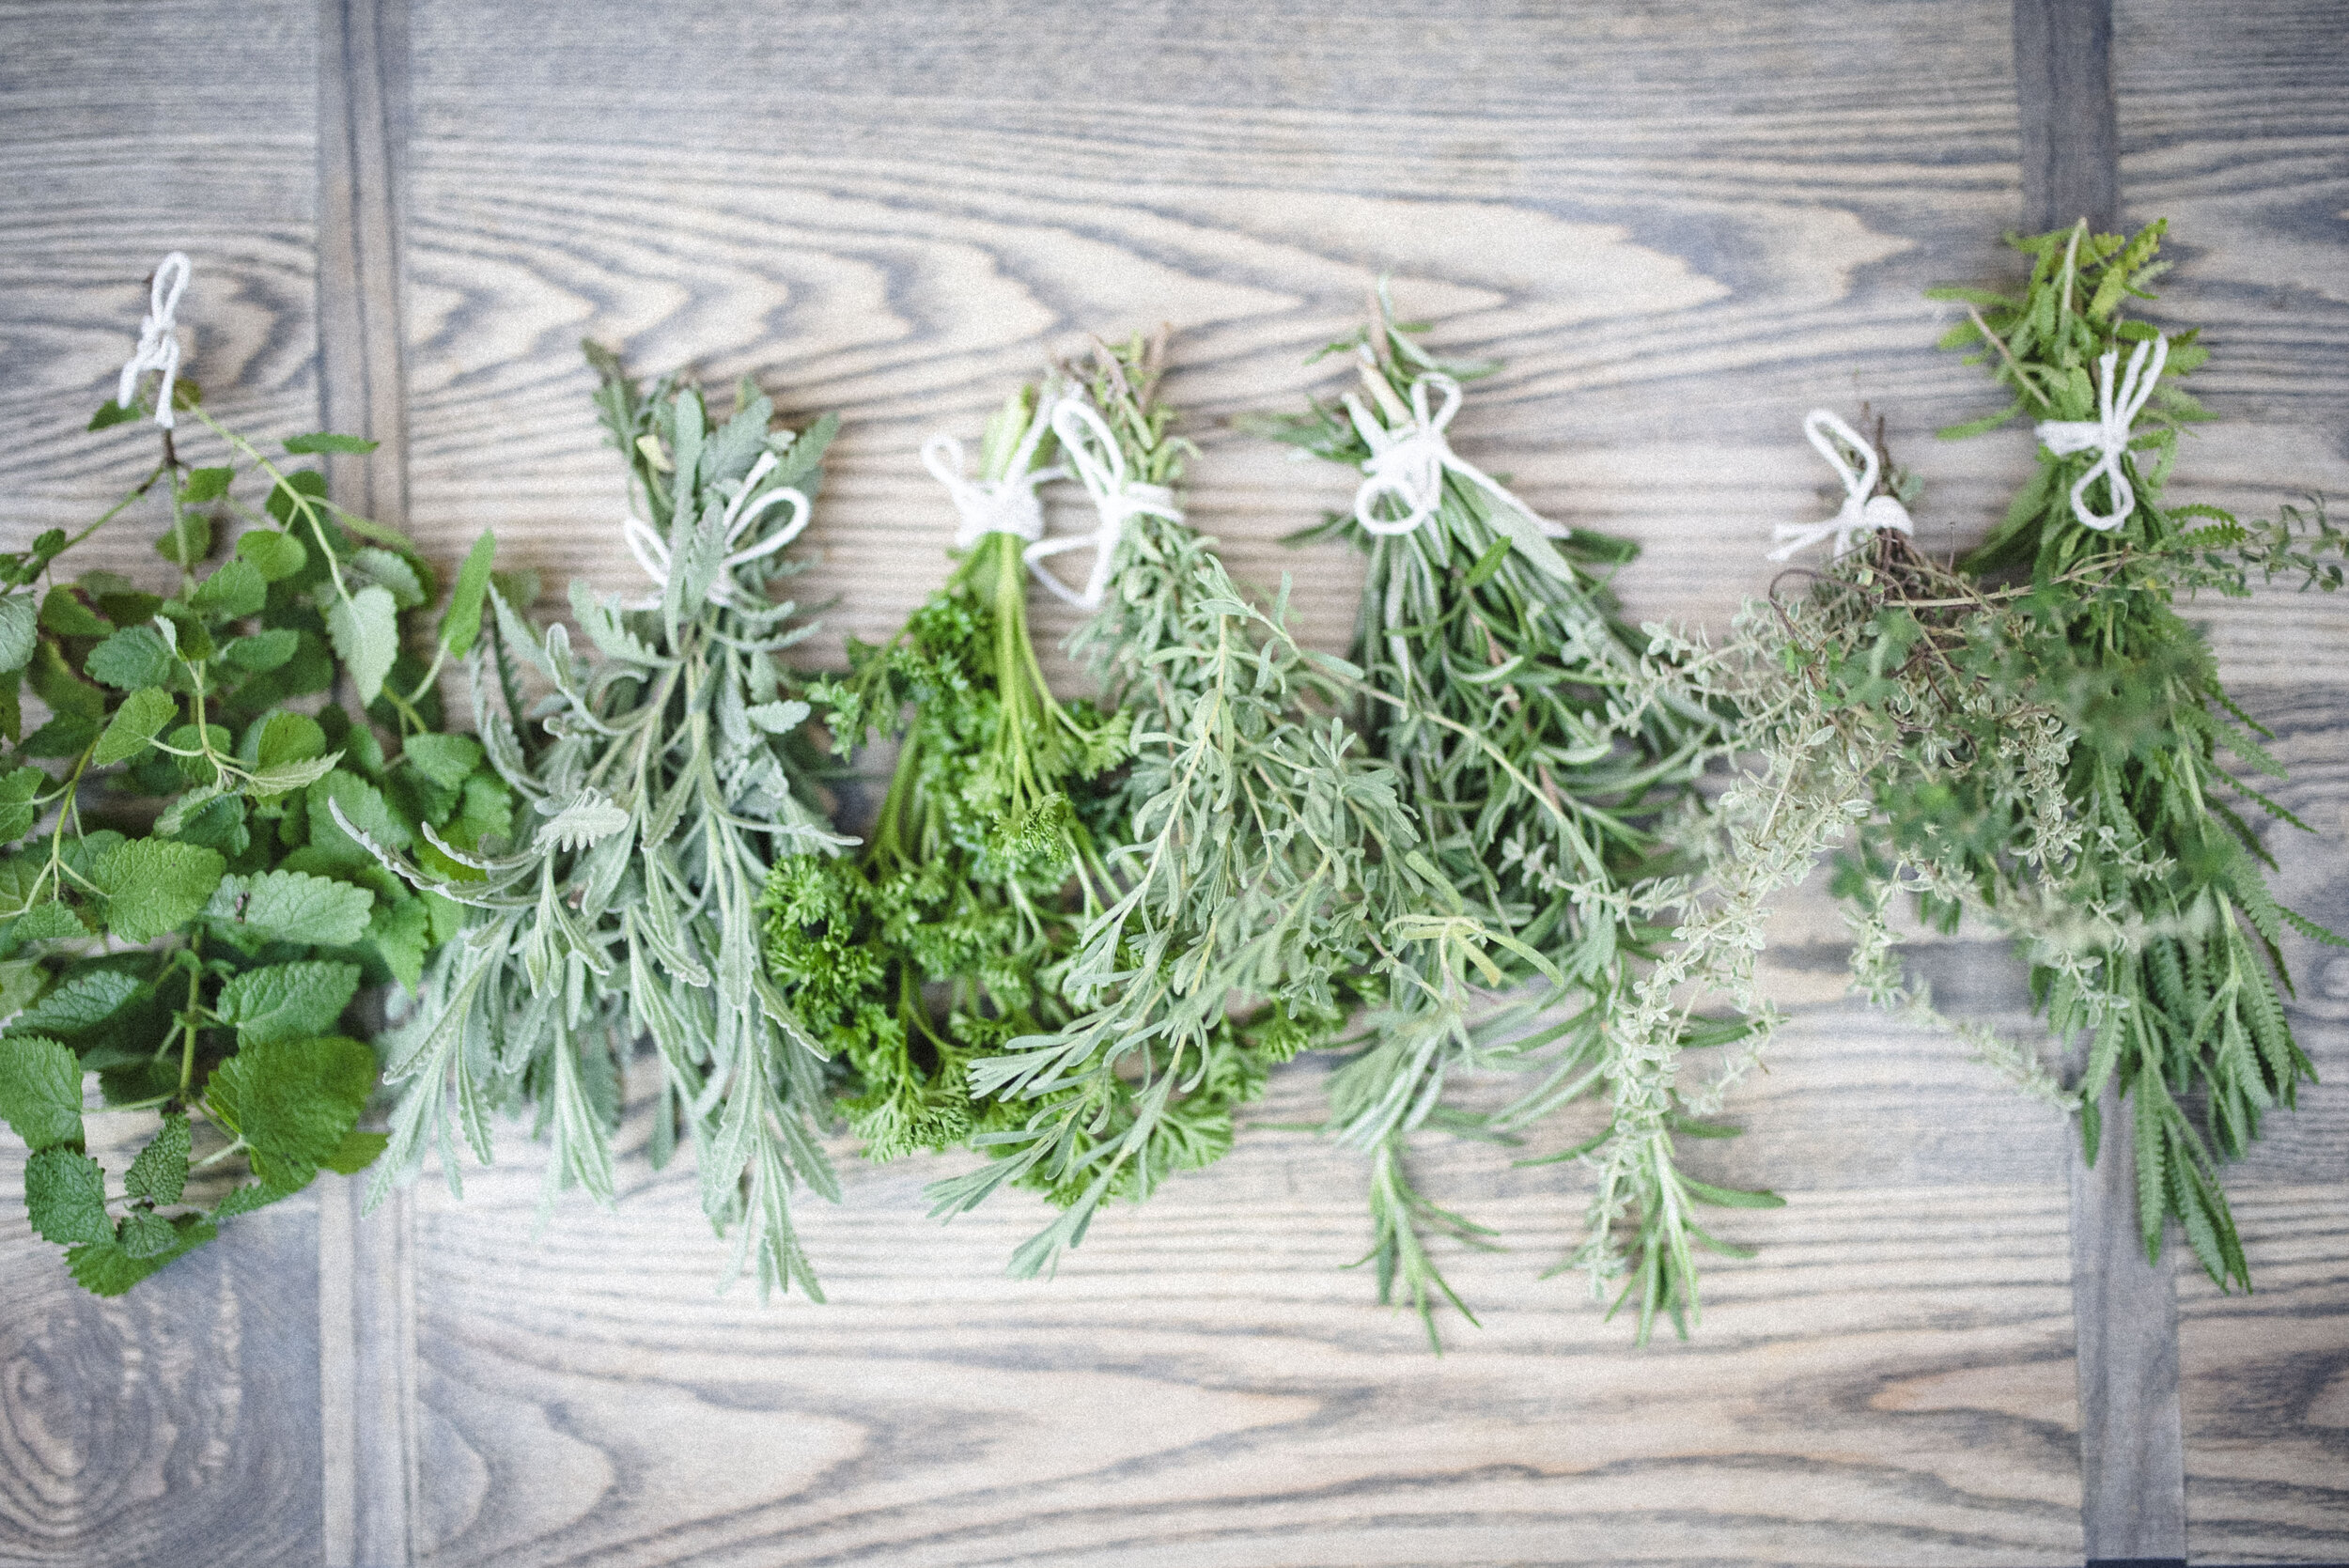
There are a few different ways to dry fresh herbs, but today we will be air-drying/hang-drying. This is the tried and true method that has been used for thousands of years.
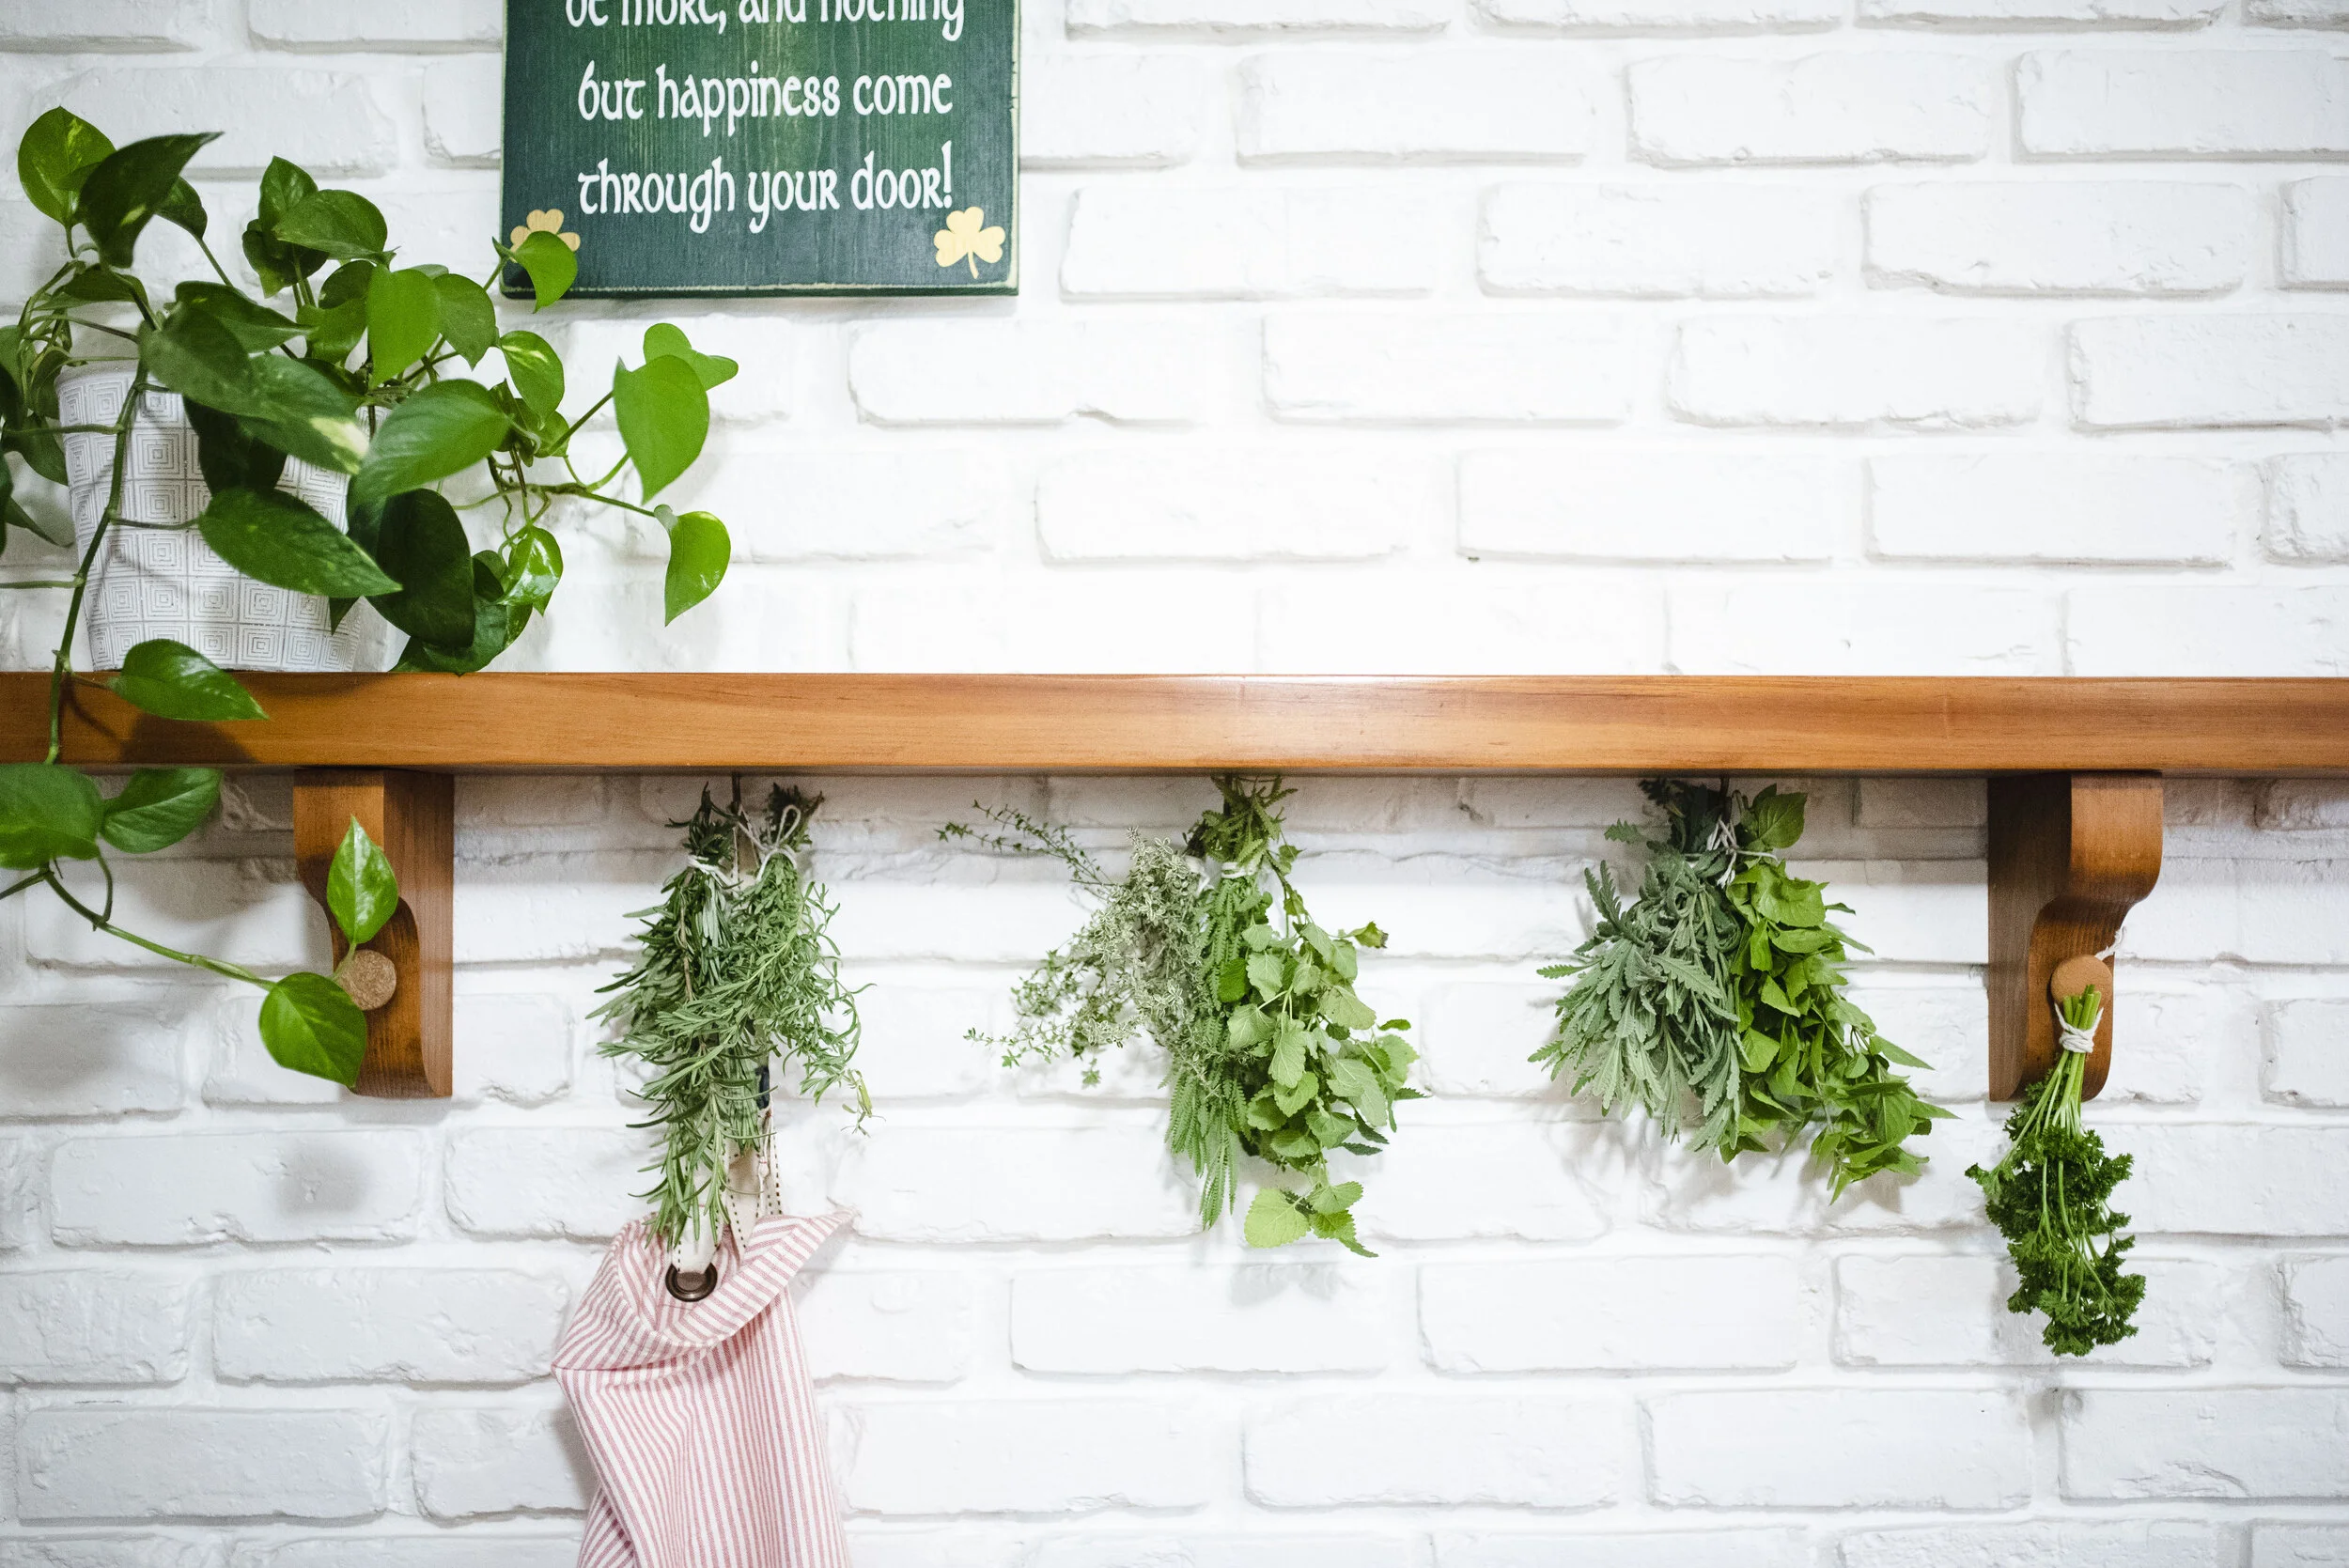
Follow these simple steps:
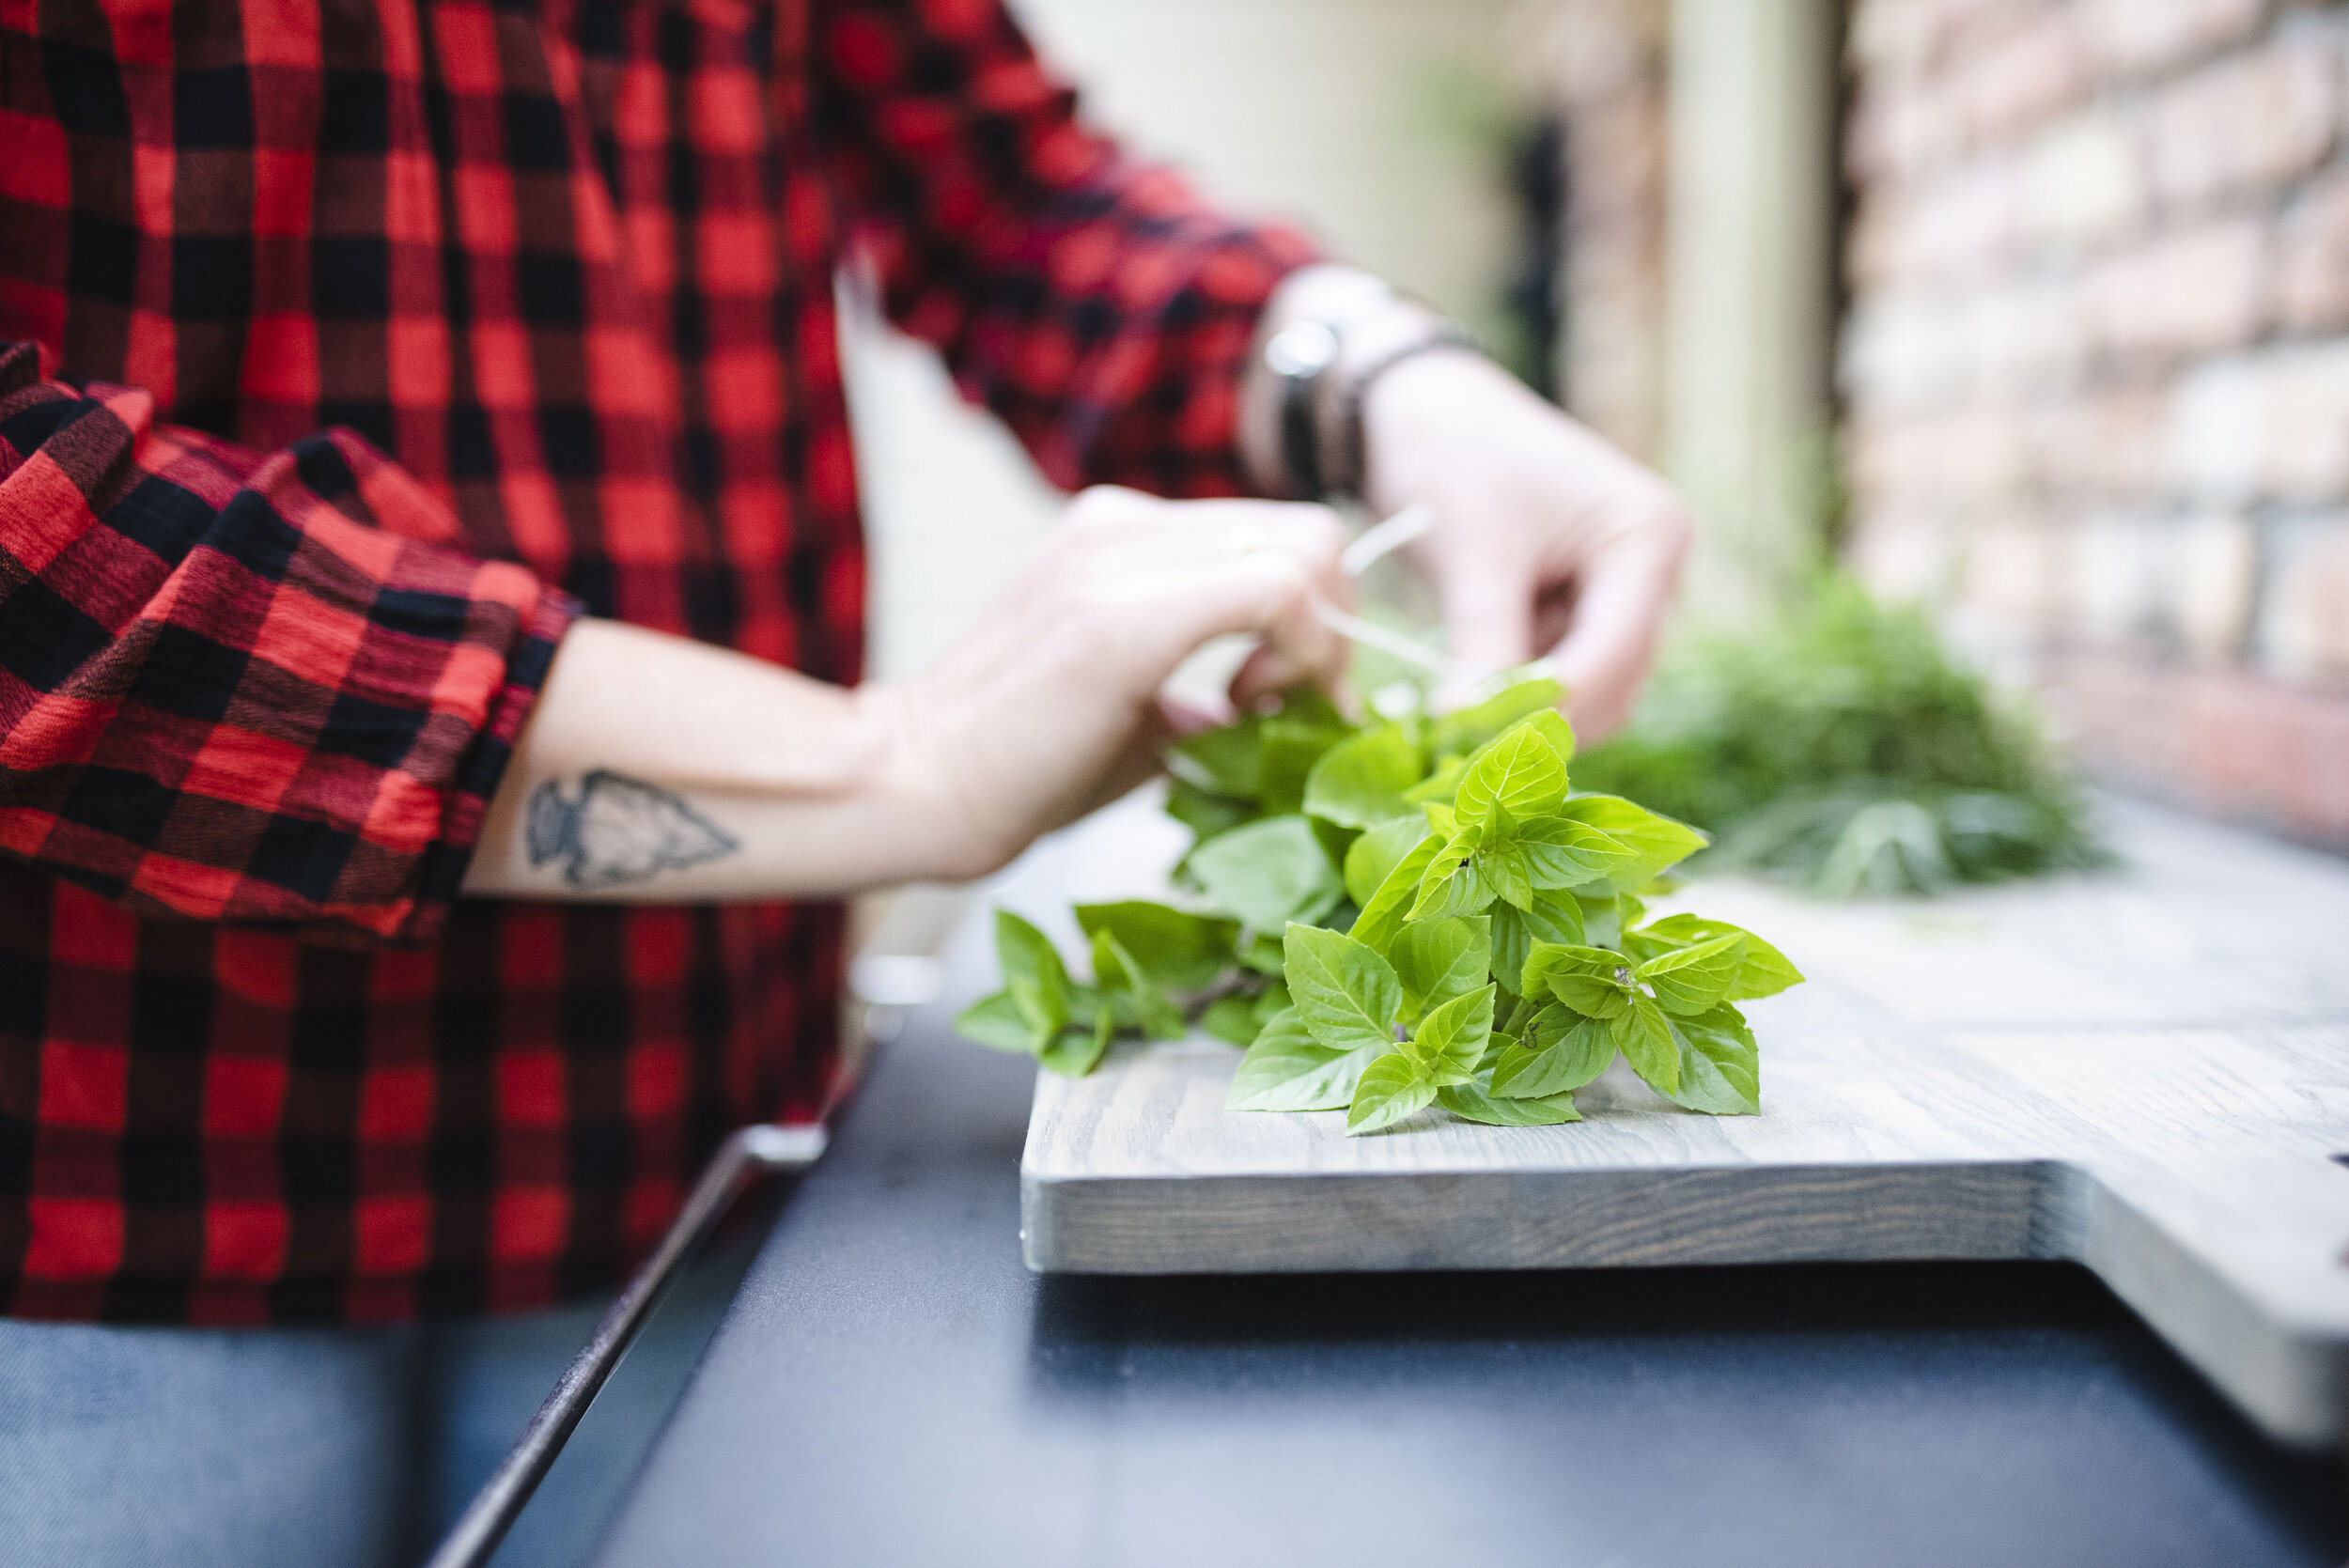
Cut your herbs in the morning and tie together in bundles using twine/string or a rubber band. I usually make bundles of about 5 stems, or 1 inch wide. Too large of a bundle will take longer to dry and retain moisture, which can lead to mold.
Remove any bugs, dead leaves, etc from your herbs.
Hang your herb bundles upside down by the stems and allow to dry. Hang them in a dry, warm area, out of direct sunlight. You can also hang in a brown paper bag to protect against dust and sunlight.
Once fully dried, crumble dried leaves and store in airtight containers at room temp. You can also keep leaves whole for garnishes. Sage and basil work well for this.
That’s it! Enjoy!
Tip: If you’re new to this, label your herbs before drying. Dried leaves can start to look alike!
Later in the season we will feature recipes using your dried herbs. Until then, check in next week for delicious squash recipes, using unique squash only available at Benoit Greenhouses!
-Meg
Homegrown: Sauces
“People who love to eat are always the best people.” Julia Child

Tomato sauces are one of the five “mother” sauces of the culinary world, so they’re kind of a big deal. They’re the perfect use for the last of your fresh summer tomatoes. Bonus: making these will make your kitchen smell so cozy and heavenly. As an Irish girl, I don’t have a secret family recipe from an Italian great-grandmother, but these sauces will have you fooled. Pick some tomatoes, pour a glass of wine, and let's get cookin’!
The Secret’s in the Sauce
Plum tomatoes (e.g. Roma, San Marzanos) are the best tomatoes for sauces. They have fewer seeds than heirloom tomatoes or other varieties. They also have the best flavor and texture when cooked down to a sauce. Cherry tomatoes are great for sauces, too, f you have enough of them. That being said, you can certainly use whatever you have on hand from the garden. Just be sure to remove any excess seeds before cooking.
Most people peel and seed tomatoes so the sauces have a smooth texture and balanced flavor. To do this, place your whole tomatoes in a pot of boiling water until the skins start to split. Remove from the pot and put in a bowl of cold water. Once cool to the touch, peel off the skins and you’re ready to go! I kept the skins on in my recipes for a more rustic (aka lazy) approach and they turned out great.
Don’t limit your tomato sauces to just pasta! I made pasta this week because I was craving all the carbs, but there are so many ways to use your homemade sauces.
Other uses for tomato sauce:
-pizza sauce
-put on sandwiches (e.g. spread on grilled cheese)
-use in chicken dishes (e.g. chicken parmesan)
-serve with eggs
-use to poach seafood
-sauce for mussels/clams
-add to your chili
-soups (e.g. minestrone)
Recipes
Traditional Italian Tomato Sauce (Quick Version)

Your classic, fail-proof, go-to sauce recipe.
Puttanesca Sauce

Busting with flavor, this unique and traditional Neapolitan tomato sauce has an interesting history. Story has it that “ladies of the night” would put this in the window sills of brothels to lure in men. I will say, it brought my husband running into the kitchen!
Creamy Vodka Sauce

Smooth, rich, and utterly delicious. It’s traditionally served with penne pasta, but you’ll want to put this on everything. I definitely didn’t intend for this to look like Halloween pasta, but sometimes things turn out different than we plan. Just go with it and make it work!

These sauces can be stored in the fridge for 1 week, or properly canned and stored for up to 2 years. My favorite method of storing tomato sauce is freezing. Put your sauce in an air-tight container or freezer bag, pop in the freezer, and use within 4 months. Next week we'll be drying and preserving our fresh herbs for a variety of uses all fall and winter long.
-Megan
Homegrown: Salsas
“The best crop of a garden, year after year, is hope.” Robert Rodale

Fall is here, and I am THRILLED. I’ll take all the pumpkin spice and apple cider goodies I can get my hands on! That being said, let's also not forget to finish the gardening season strong and use the last of our bounty. Enjoy what’s left of that fresh-picked flavor with these homemade, homegrown salsas.

What Kind of Tomatoes/Peppers Are Best for Salsas?
Roma is an ideal plum tomato for salsas. It holds it’s structure without getting too mushy or watery and packs a punch of flavor, especially when roasted. Heirloom tomatoes work too, just remove some of the access seeds before making your salsa. Cherry tomatoes can also be used for a sweeter flavor. Tomatillos are the star of the show for green salsas. They’re not just green tomatoes like many people think. Think of them as the tomato’s wacky cousin.
Choose your peppers based on how hot you want your salsa. Bell peppers and banana peppers are ideal for milder salsas. Kick it up a notch to medium heat with jalapenos or poblanos. For extra spicy salsas, use serranos, Thai chilies, or habaneros. You can also add an extra jalapeno and keep the seeds for maximum kick.
Tip: For the best flavor, make your salsa a few hours in advance to let those flavors really develop.
Recipes
Charred Poblano and Corn Salsa

Sweet and robust, what's not to love?

Go green! This is the perfect salsa for breakfast burritos, enchiladas, and fish tacos.

A little spice, a hint of smoke, and all the fresh garden flavor.
Each of these salsas can be stored in the fridge for a week or properly canned and stored for up to a year.
Check out this link for canning information: https://www.bhg.com/recipes/how-to/cooking-basics/canning-salsa/

Next week we’ll be using the last of our tomatoes for hearty, delicious tomato sauces! See you then!
-Megan
Homegrown: House Plants
“How lovely the silence of growing things.” Unknown
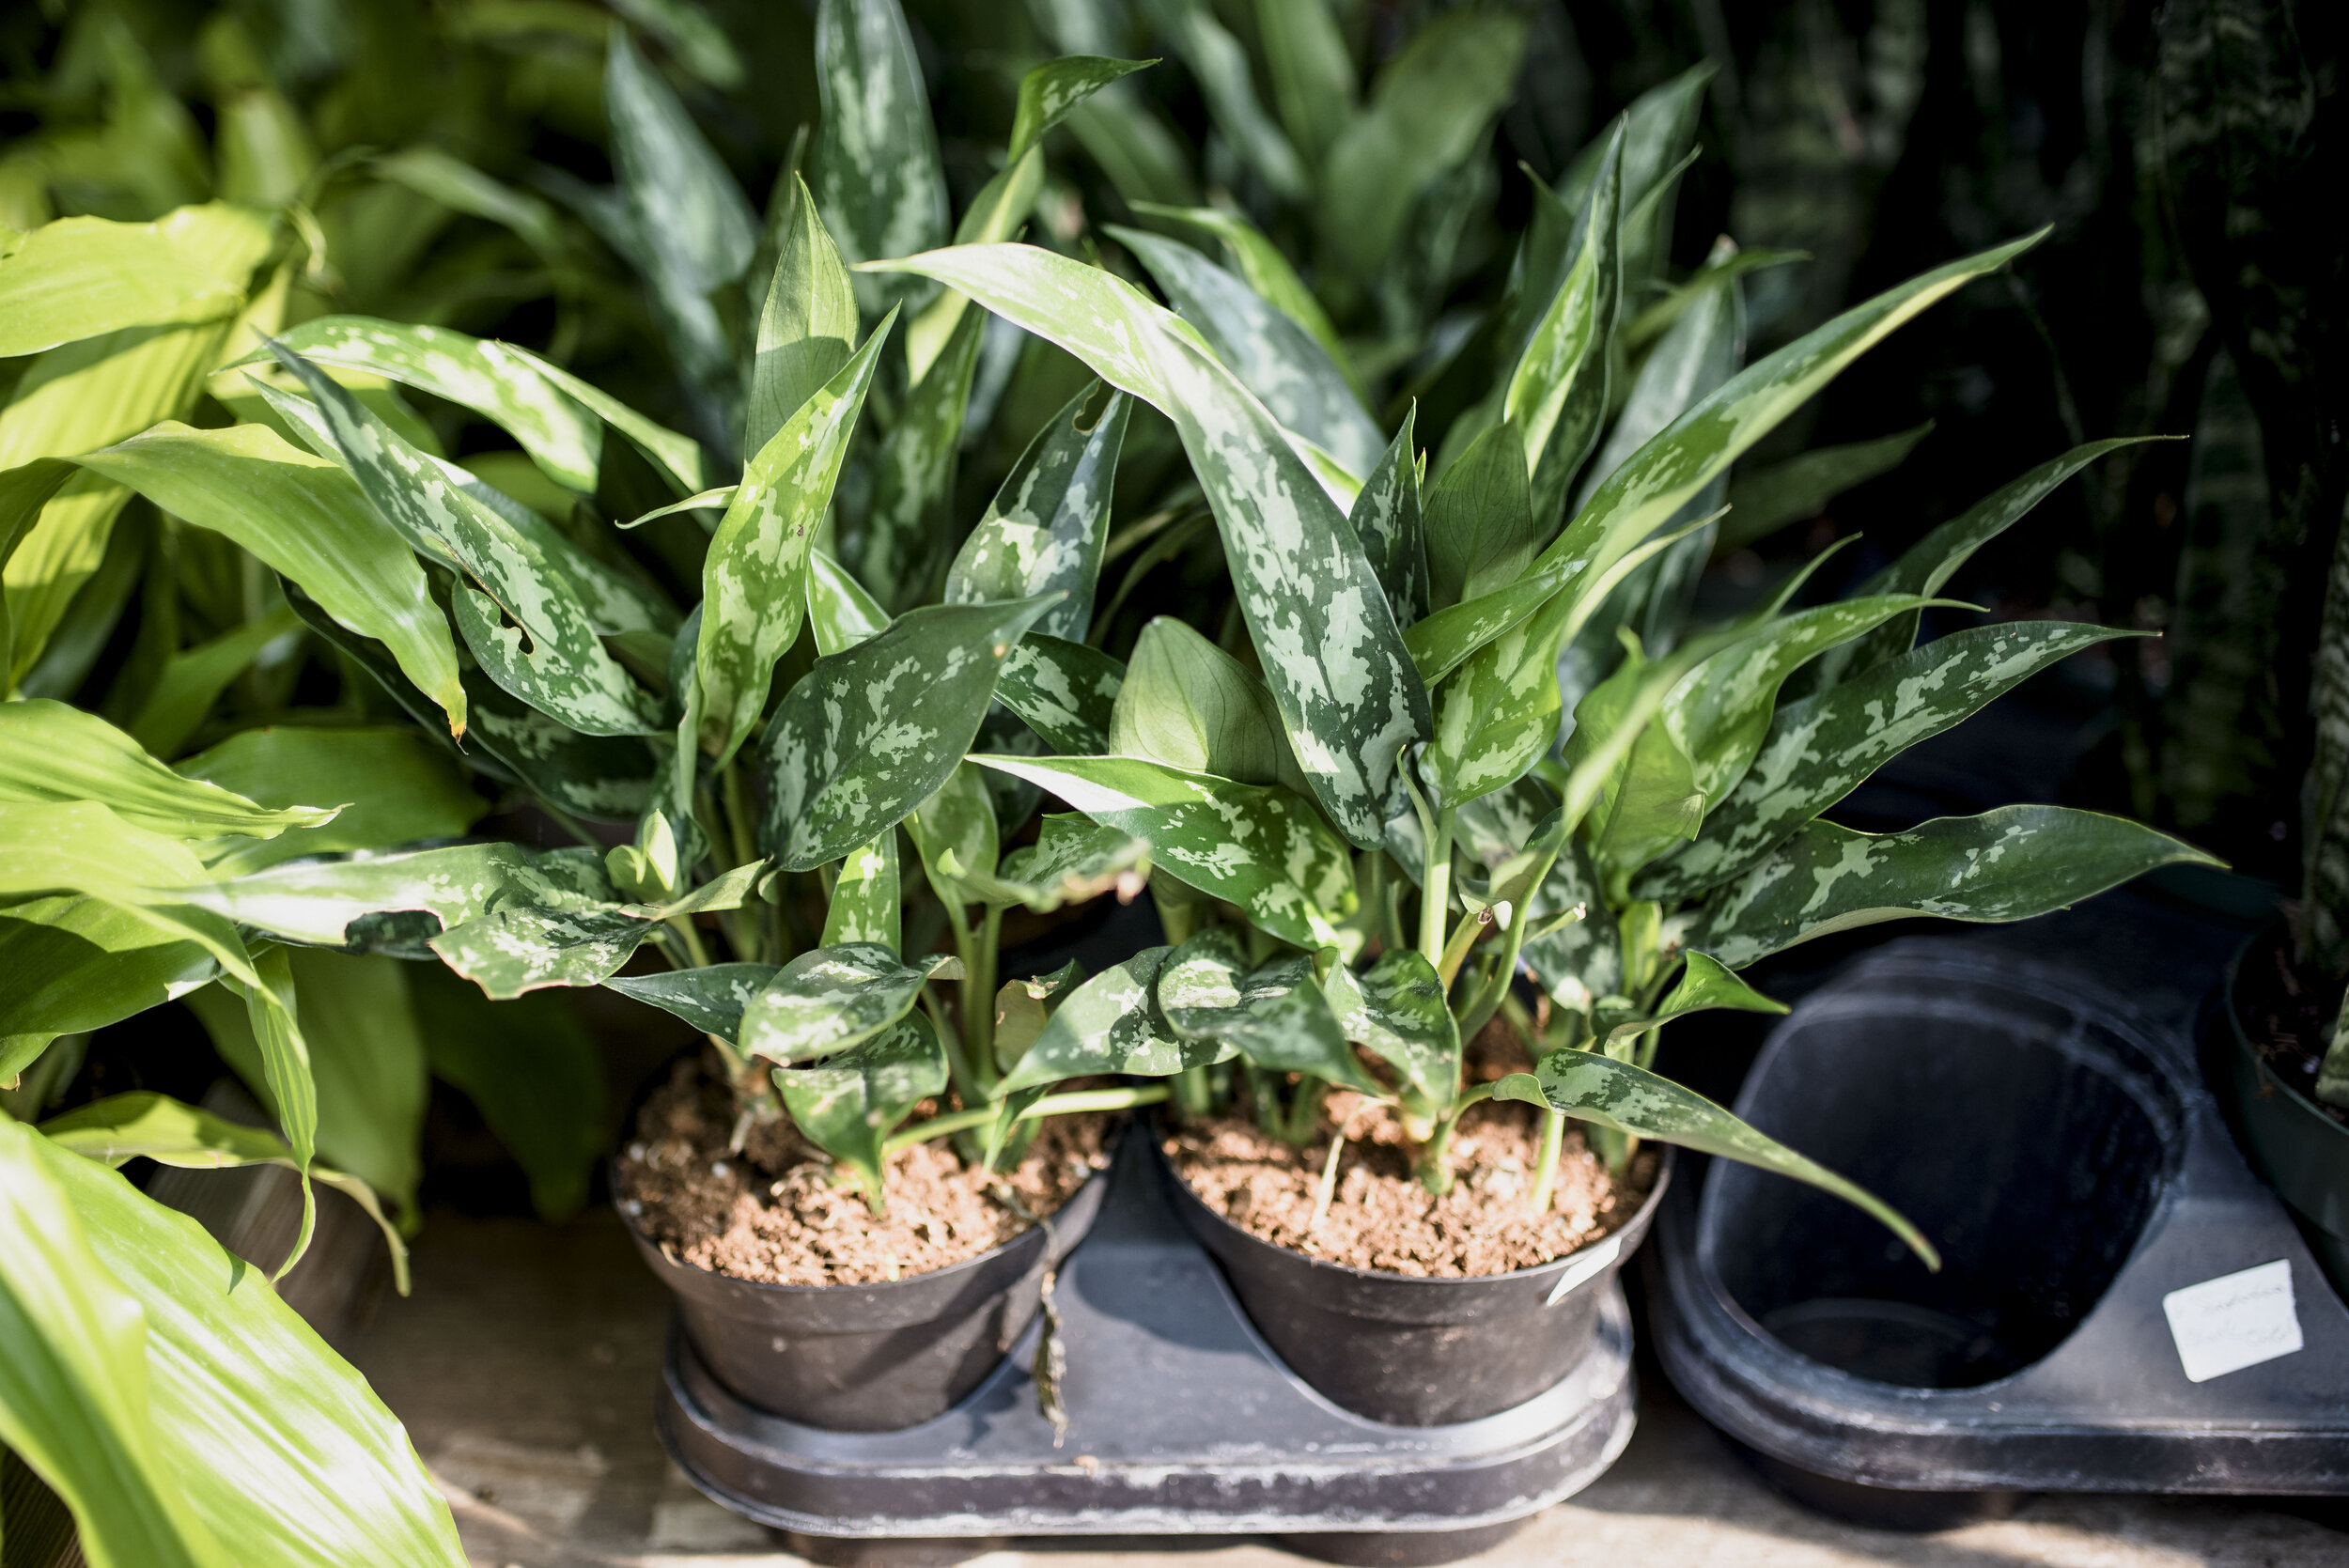
Chinese Evergreen
We’re taking a quick break from cooking this week to talk about houseplants! Benoit Greenhouses is now selling an incredible selection of houseplants to fill your home with life all year round. Black thumb? No problem. We’ll discuss how to keep your plants alive and thriving for years, generations even! I have a snake plant that originated from my great-grandmother’s original plant! It’s well over 100 years old. No room for plants? Wrong. No matter the size of your dwelling, there is always room for plants that suit your individual style. A house is not a home without plants. So let's get growing!

Money Tree
Benefits of Houseplants
-They improve air quality! Houseplants absorb carbon dioxide and release oxygen, which helps us breathe easier. They also absorb toxins in the air and balance humidity levels.
-They’re mood boosters! Being a plant parent is SO good for the soul. Caring for plants is linked to reduced stress levels, making us feel happier and more energized. The more plants, the better the feeling!
-They increase focus, creativity, and productivity! Various studies show attention span, creativity, and productivity are increased in rooms where plants are present.
-They’re freakin’ gorgeous! Not much explanation needed here.

Swiss Cheese Plant
How Not To Kill Your Houseplants
-Potting soil and drainage is key. Use a quality potting soil, not garden soil which is for outdoor use. Make sure your pots always have good drainage. Be sure to use pots with drainage holes. If you have a pot you love without holes, fill the bottom with small stones to absorb the extra water. If the plant can’t drain properly, root rot will set in, eventually killing the plant.
-Proper light and placement is also very important. Most houseplants need a good amount of indirect sunlight. Don’t overcrowd your plants. Give them space to grow.
-Don’t water too much...or too little. Seems obvious, but incorrect watering is the main reason houseplants die. Indoor plants are not like the garden outside, they don’t need watering every day, or even every week. When watering, the soil should be moist but not soggy. A simple trick: stick your finger 1 inch into the soil. If it’s dry, it’s time to water. This could be once a week or every two weeks, depending on the plant.
-Feed your plants with an indoor/houseplant fertilizer. Just like overwatering, over fertilizing can be just as harmful to the plant. This only needs to be done a few times of year to keep the soil balanced.
-Keep your plants clean and shiny by wiping dirty, dusty leaves with a damp paper towel. Clean leaves allow the plants to better absorb oxygen, making the plant happier and healthier.

Snake Plants
Decorating with Houseplants
When choosing where to begin, consider the light in your rooms and go from there. ZZ plants, snake plants, ponytail palms, and dragon trees are just a few that can tolerate low light conditions. Larger plants like fiddle leaf figs, palms, and monsteras are perfect on the floor in the corner of a room. Mix it up and move your plants around often until you figure out what you like. Try hanging your plants in a bright window or a drab area that could use some life. Empty spot on a shelf or bookcase? Add a plant or two...or three. Show your personal style through decorative pots, planter baskets, and plant stands. Stuck with pots at home you don’t love? Throw a coat of paint to give them a facelift!
I believe every room should have at least one plant. We have multiple plants in every room of our home. Bringing the outdoors in gives our home a natural, welcoming, and cozy feeling. Even on the darkest and coldest days of year, our indoor garden oasis is bright and alive.
Houseplants bring living, colorful comfort to your space and are much easier to care for than most people think. A new houseplant is the perfect pick-me-up on a bad day or as a way to remember a special moment in your life. Spread joy to others by gifting a houseplant to friends and family.

See you next week to make a few delicious salsas to last you all fall and winter long.
-Meg
Homegrown: Zucchini & Cucumbers
“To plant a garden is to believe in tomorrow.” Audrey Hepburn

Let’s talk zucchini and cucumbers. They’re a garden essential, but damn do they produce a LOT! Stuck with more than you know what to do with? Your neighbors won’t take any more and you’ve already made enough pickles for an army. Don’t dump your extra zucchini and cucumbers on some random stranger’s porch just yet. Fall will be here before we know it. Until then, let’s enjoy every last juicy bite of fresh summer flavor!
Harvesting/Care
Zucchini are ready to pick when they’re about six to eight inches long. Cucumbers for fresh eating/slicing should be picked when they are about seven to nine inches long. For pickling varieties, pick when the cucumbers are smaller, about three to four inches long. Both zucchini and cucumbers should be firm and dark green in color. If the zucchini feels mushy, it's probably overripe and can be thrown out or composted. If you allow either to get too big, they will be flavorless or bitter. The more you pick, the faster remaining zucchini grows. If you find that you’re drowning in more zucchini than can be used, leave a few fruit on the plant to slow down production. Picking cucumbers as soon as they are ready not only gives the best flavor, but encourages the plant to produce longer into the season.
When harvesting, leave a one-inch section of the stem attached to the fruit. This prevents the stem end from rotting during storage. Try not to twist or pull off the vine, as this can damage the plant. The best way to do this is to cut the zucchini or cucumber off the vine with a knife or garden shears. Zucchini and cucumbers can be stored in the fridge for about a week, but taste best when used right away.
Recipes
Click on photos to view recipes.
Lemon Poppyseed Zucchini Bread

Finish out the summer with this bright, light, and refreshing citrus bread...before the fall spiced baked goods come out to play!

Cold soups are a hidden gem of summer cooking. Beat the end-of-summer heat with this creamy, tangy, full-of-flavor soup. Bonus: this soup is SO easy to make!

Crunchy, colorful, and the perfect balance of tangy and savory. Enjoy as a light side dish or add your favorite protein for a quick meal.
Tip: Have some fun and load this salad with whatever toppings you’re craving (herbs, peanuts, edamame, Sriracha, green onions, sesame seeds, etc.) Get creative!

Leave us a comment with pics of your zucchini/cucumber creations, or share some of your favorite uses with us. We’ll be back in 2 weeks to mix up some garden-fresh sauces and salsas!
-Megan
Homegrown: Tomatoes
“It’s difficult to think anything but pleasant thoughts while eating a homegrown tomato.” -Lewis Grizzard

Welcome to peak tomato season! This is the time many gardeners and home cooks have been waiting for since spring. Let’s use those juicy tomatoes in as many delicious dishes as possible!

How Do You Know When They’re Ready?
There are a few key elements to look for in a ripe, ready to pick tomato: Color, firmness, and smell. When the color is even throughout, it’s ready to be picked. It will ripen first on the bottom, and the color will spread to the entire fruit. Ripe tomatoes will feel firm with a slight softness when squeezed. They should feel full and heavy. A ripe tomato also gives off a sweet distinct smell of, well, tomatoes! Unripe tomatoes won’t smell like much at all. When ready to pick, just twist that juicy ‘mater off the vine or use clippers to cut larger varieties. Keep in mind that once tomatoes have started to ripen, they no longer need sunlight. Too much sunlight on the vine or indoors will cause your overripe tomatoes to blister or split open.
With our hot Midwest summers, the tomatoes can continue to ripen after they’re picked. If you think you picked a little too early, no worries! Store on your kitchen counter and watch your tomatoes ripen to perfection. Some people like to let them fully ripen on the vine for the sweetest flavor and immediate use. Others like to harvest a little early and let them ripen inside, extending the shelf life. It’s a personal preference. Personally, I let my tomatoes ripen on the vine because I usually use them the same or next day. Happy harvesting!
TIP: Never store your tomatoes in the fridge! They get mushy and also lose nutrients and flavor. If you like a cold tomato on a sandwich, salad, or just for snacking, toss in the fridge a couple hours before eating, just long enough to chill it.
Recipes

Eggs In Purgatory
An Italian version of the classic Middle Eatern dish, Shakshuka. Perfect for weekend brunch or a quick weeknight dinner. Serve with crusty bread or warm pita, and be transported to culinary Heaven!
¼ cup olive oil, plus more for drizzling
6 garlic cloves, smashed
½ teaspoon crushed red pepper flakes
20 oz. (about 4 cups) cherry tomatoes
6 large eggs
6 slices toasted bread of choice (I used sourdough)
1 lemon
Handful of basil leaves
Salt and pepper to taste
-Heat ¼ cup oil in a medium skillet over medium-high.
-Add garlic and season generously with salt and pepper. Cook, stirring constantly, until garlic is fragrant and golden around the edges.
-Stir in red pepper flakes and tomatoes. Cook until some of the skins start to split, about 2 minutes.
-Reduce heat to medium. Cover pan and continue cooking, stirring tomatoes every couple of minutes and lightly smashing them with back of a wooden spoon.
-Cook until the mixture is saucy and but some tomatoes still hold some shape, about 5–7 minutes.
-Carefully crack eggs one at a time into tomato mixture, spacing them evenly around the pan.
- Season eggs with salt and pepper, cover pan, and cook until whites are set but yolks are still runny, about 4–6 minutes. Top with fresh basil leaves.
-To serve, scoop an egg or 2 out of the pan and spoon extra sauce around egg. Serve with the toast on the side and enjoy!

Sliced Tomato Beet Salad
Fresh. Vibrant. Juicy. This salad is summer on a plate!
2 medium beets, peeled and sliced in ½ inch rounds
2 medium heirloom tomatoes, sliced (I used yellow and red from my Rainbow Blend plant)
½ cup cherry tomatoes, halved if large
2 TBSP extra virgin olive oil
2 TBSP fresh lemon juice
2 tablespoons chopped fresh herbs (I used dill and parsley)
½ cup feta or goat cheese, crumbled
Salt and pepper to taste
-Preheat the oven to 425 degrees F and line a baking sheet with parchment paper.
-Add beets to a small bowl. Drizzle with olive oil and a pinch of salt and pepper. Toss to coat.
-Arrange beets in a single layer on baking sheet and roast until tender when poked with a fork, about 10 to 15 minutes. Set aside.
-In a small bowl, whisk oil, lemon juice, salt and pepper to taste until well combined.
-Arrange beets and tomatoes on serving platter. Drizzle with vinaigrette.
-Sprinkle with herbs and cheese. Dig in!

Heirloom Tomato Tart with Thyme and Honey
Brace yourselves, this is as freaking delicious as it looks.
1 pie crust (I use store-bought)
2 TBSP butter
1 sweet onion, thinly sliced
6 fresh thyme sprigs, chopped
1 cup bleu cheese, crumbled
½ cup sharp cheddar cheese, shredded
Handful of basil leaves
2 heirloom tomatoes sliced
1 ½ cups cherry tomatoes, halved
Olive oil for drizzling
Honey for drizzling (use spicy honey for a kick! I like Mike’s Hot Honey.)
Toasted walnuts for topping (optional)
Salt and pepper

-Add butter to a skillet over medium-high heat. Add the onions and pinch of salt and pepper.
-Cook, stirring constantly, until the onions begin to soften, about 5 minutes. Continue to cook, scraping the browned bits off the bottom of the pan frequently until the onions are golden brown, about 20 minutes. Remove from the heat and stir in the thyme. Season again lightly with salt and pepper.
-Preheat the oven to 375 degrees F.
-Lay out your pie crust on a baking sheet lined with parchment paper.
-Crumble the bleu cheese over the bottom of the dough leaving a 3-inch border around the edges. Sprinkle on the shredded cheddar.
-Add the caramelized onions in an even layer and then add a layer of basil leaves.
-Add the tomato slices and half of the cherry tomatoes, saving the rest for topping.
-Drizzle the tomatoes with olive oil and honey. Sprinkle with salt and pepper.
-Fold the edge of the dough over the tomatoes and brush the crust with the beaten egg.
-Bake the tart for 45-55 minutes or until the crust is golden and the tomatoes are slightly charred.
-Allow to cool for about 5 minutes and top with the remaining fresh cherry tomatoes, walnuts, and another drizzle of honey.
-Slice and serve!

This is just the first of many tomato blogs. We will be posting sauces, salsas, pizza, and canning recipes soon! Stay tuned! Share your favorite tomato dishes with us in the comments. As for next week, we’ll be talking cucumber and zucchini gardening tips and recipes!
-Megan
Homegrown: Peppers
“Good food is very often, even most often, simple food.” -Anthony Bourdain

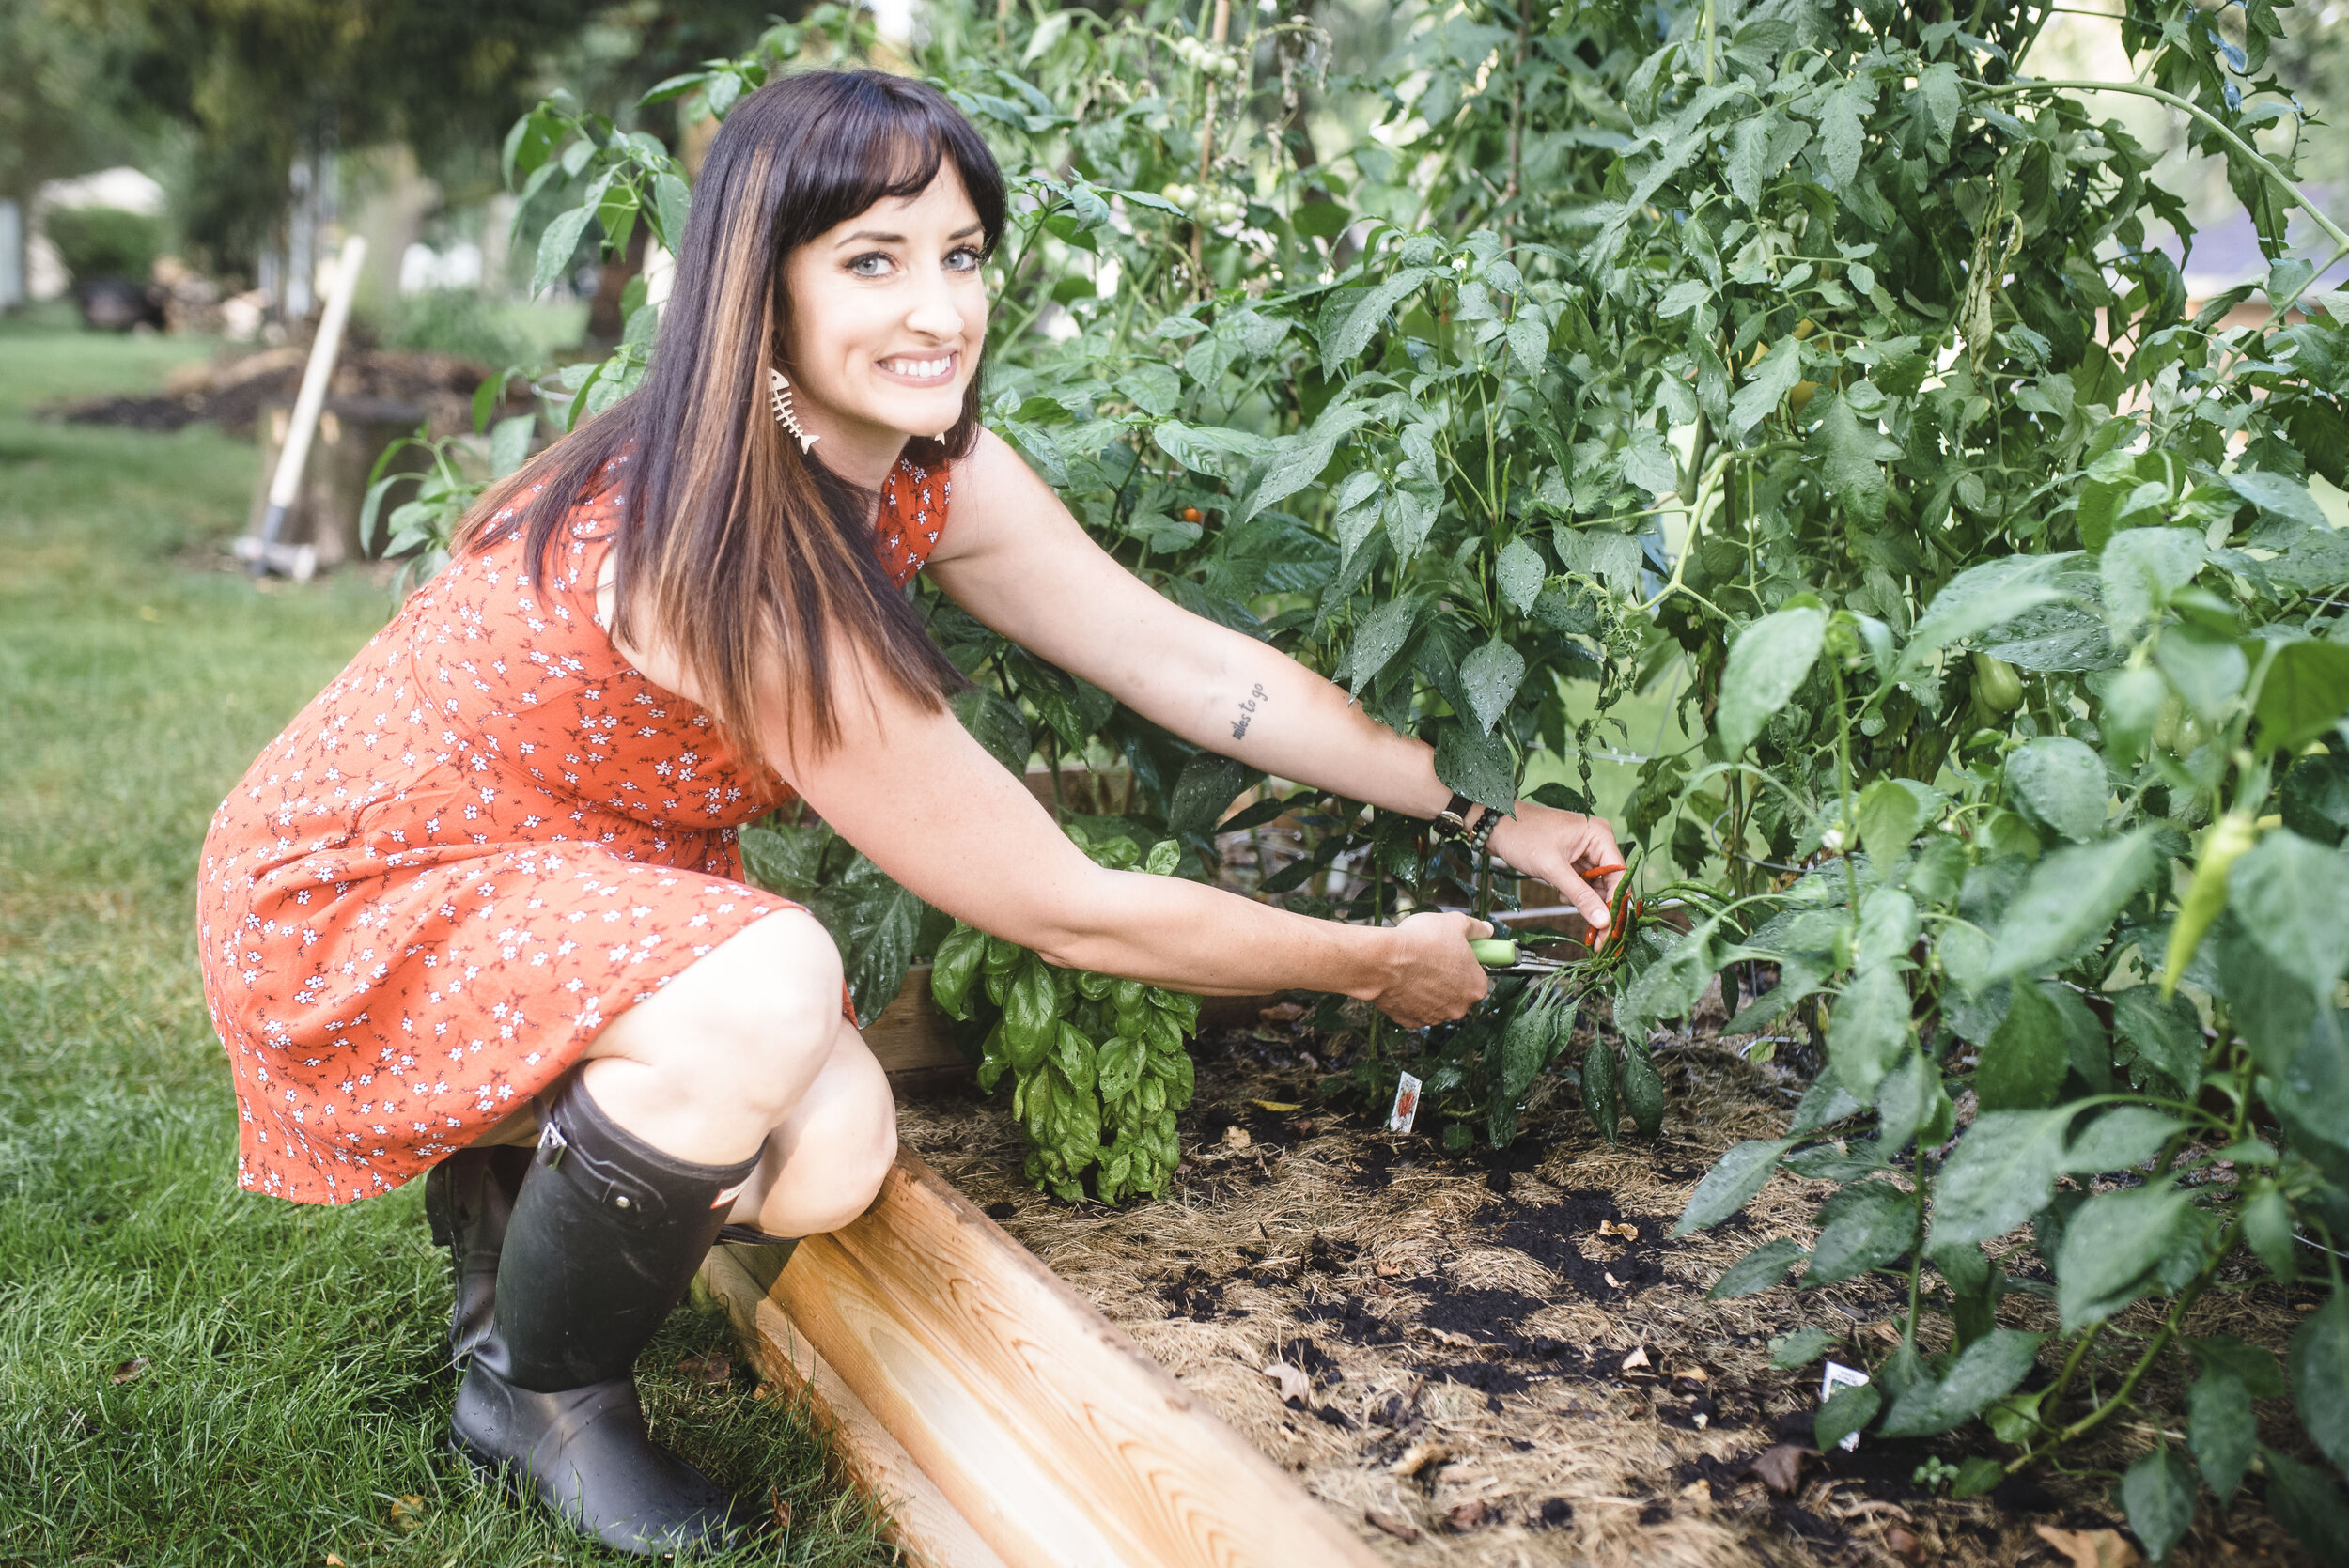
Peppers are one of the most versatile and simple veggies (technically a fruit!) and can be used for a variety of cuisines and recipes. They add crunch, beautiful color, sweet heat, and an overall flavor boost to any dish. Late summer is prime pepper season, so let's get picking!
Growing/Harvesting Peppers
Peppers are easy to grow with a little pampering. Give your pepper plants full sun, warm temps, and plenty of water to keep the soil moist (they’re very thirsty!). Patience and proper care early in the growing season will reward you with an abundance of peppers from July-November (or whenever our unpredictable Midwest frost hits).
Peppers can be harvested as soon as they reach usable size and can be eaten at almost any stage of growth. Sweet/mild peppers get sweeter as they ripen and change color. Hot peppers will get hotter as they ripen. Most peppers are green when young and red when fully mature. Try picking some at different stages of growth and decide which flavors you like best!
Recipes

Italian Grilled Cheese with Banana Peppers and Salami
A zesty spin on an old favorite, perfect for a weeknight dinner. Gooey, rich, and mouth watering.
8 slices of bread (French or sourdough are my favorite)
8 slices asiago cheese, or cheese of choice
8 slices sharp cheddar cheese, or cheese of choice
8 oz. thinly sliced salami (1 lunch meat package)
1 cup sliced banana peppers, hot or sweet
¼ cup pesto
2 TBSP butter
4 TBSP mayonnaise
-Lay 4 pieces of bread on cutting board or counter and spread a layer of pesto on top side of bread.
-Add 1 slice of asiago and 1 slice of cheddar (or whichever cheeses you’re using) to each piece of bread.
-Top with salami and peppers evenly among the four sandwiches.
-Add second slices of each cheese and top with other piece of bread. Press down slightly to keep the sandwich together.
-Preheat a large skillet over medium-low heat. Once warm, add about 1/2 tablespoon of butter per sandwich, I usually cook 2 at a time.
-Before adding sandwiches to the pan, smear outsides of bread with a thin layer of mayonnaise.
-Cook for 3 to 4 minutes per side, until golden brown and cheese is melted.
-Transfer to plate and enjoy!

Shrimp and Crab Stuffed Poblanos
Sweet shrimp and crab, savory cheeses, and a little kick of heat = perfection.
4 poblano peppers, sliced in half with seeds/ribs removed
1 lb raw shrimp- peeled,deveined, and roughly chopped
2 (6 oz. each) cans shredded crab meat
½ package (about 3 TBSP) Boursin Garlic and Herb cheese spread
1 TSP olive oil
1 sweet onion, chopped
3 cloves garlic, minced
1/2 cup shredded Parmesan cheese
1/2 cup Panko breadcrumbs
2 TBSP Old Bay seasoning
1 TBSP fresh basil, chopped
Juice from 1/2 lemon
1 TBSP paprika
Salt and pepper to taste
-Preheat oven to 350 and place poblanos cut side up on lightly oiled baking sheet. Bake for 10 minutes and remove from oven.
-While the peppers are baking, heat a pan to medium heat and add olive oil. Add onion and cook about 5 minutes to soften.
-Add garlic and cook for another 30 seconds, until fragrant.
-Add shrimp, crab meat, lemon juice, Old Bay, fennel seed, salt/pepper, Boursin cheese, half of the breadcrumbs, and half of fresh basil to pan. Stir and cook until cheese is melted and shrimp is opaque.
-Stuff each pepper with the shrimp/crab mixture and sprinkle with remaining breadcrumbs.
-Top with parmesan cheese and a dash of paprika for color.
-Return to oven and bake for 15-20 minutes.
-Garnish with remaining fresh basil and enjoy!

Roasted Red Pepper Pasta
Swap out your traditional tomato pasta sauce with this fresh and creamy variation. Also try it on pizza, sandwiches, or a loaf of warm bread.
4 red bell peppers
1 TBSP olive oil
1 onion, finely chopped
1 carrot, finely chopped
1 stalk celery, finely chopped
4 cloves garlic, minced
½ TSP crushed red pepper flakes (more or less to taste)
½ TSP fennel seed
1 TBSP fresh oregano, chopped (a large pinch of dried oregano is fine, too)
1 TSP salt
1 cup vegetable broth
1/4 cup whole milk or heavy cream
1 TBSP red wine vinegar (balsamic, apple cider, or white wine vinegar is fine)
1 box pasta (I used bucatini)
½ cup Parmesan cheese, shredded or shaved
Fresh basil for garnish
-Place the oven rack on the top setting and set oven to broil.
-Put your whole peppers on a sheet pan and broil until the top is blistered and black, about 5-7 minutes. Remove the peppers and turn 1/4 turn to the next side and return them to the oven. Repeat until all sides are black and charred.
-Remove from oven and set aside.
-While peppers are roasting, cook pasta according to box directions.
-Heat olive oil in a large sauce pot over medium-high heat. Add onion, carrot, and celery. Cook, stirring occasionally, until the onion is translucent and the carrots/celery are tender.
-Add garlic, crushed red pepper, oregano, and salt. Cook for another 30 seconds until garlic is fragrant. Remove from the heat and set aside.
-When the peppers are cool enough to touch, remove the skin and seed, sand discard.
-Add peppers, other cooked veggies, and broth to a blender and blend on high until smooth.
-Return to pot, add milk/cream, and heat over medium until sauce is warmed through. Remove from heat and stir in vinegar.
-Adjust seasonings to taste if needed.
-Add cooked pasta to sauce pot and stir to evenly coat. Top with fresh basil and Parmesan.
Remember these recipes are just general guidelines, not laws you have to follow exactly as written. Don’t be afraid to substitute ingredients or add more of something you love. Let us know how it goes in the comments. Next week we will be cooking with the classic summer favorite, tomatoes!
-Megan